A professional picture hanging appointment involves consultation, precise measurements, wall analysis, proper hardware selection, and expert installation. Technicians bring specialized tools and knowledge to ensure your artwork hangs level, secure, and at the optimal height for viewing. The entire process typically takes between 30 minutes to two hours depending on the number and complexity of pieces being hung.
Why Homeowners Choose Professional Help for Picture Hanging
Most people underestimate the skill required to hang pictures properly. The wrong anchor in drywall can fail within weeks. Heavy frames need studs or specialized hardware rated for specific weights. Gallery walls require mathematical precision to look intentional rather than haphazard.
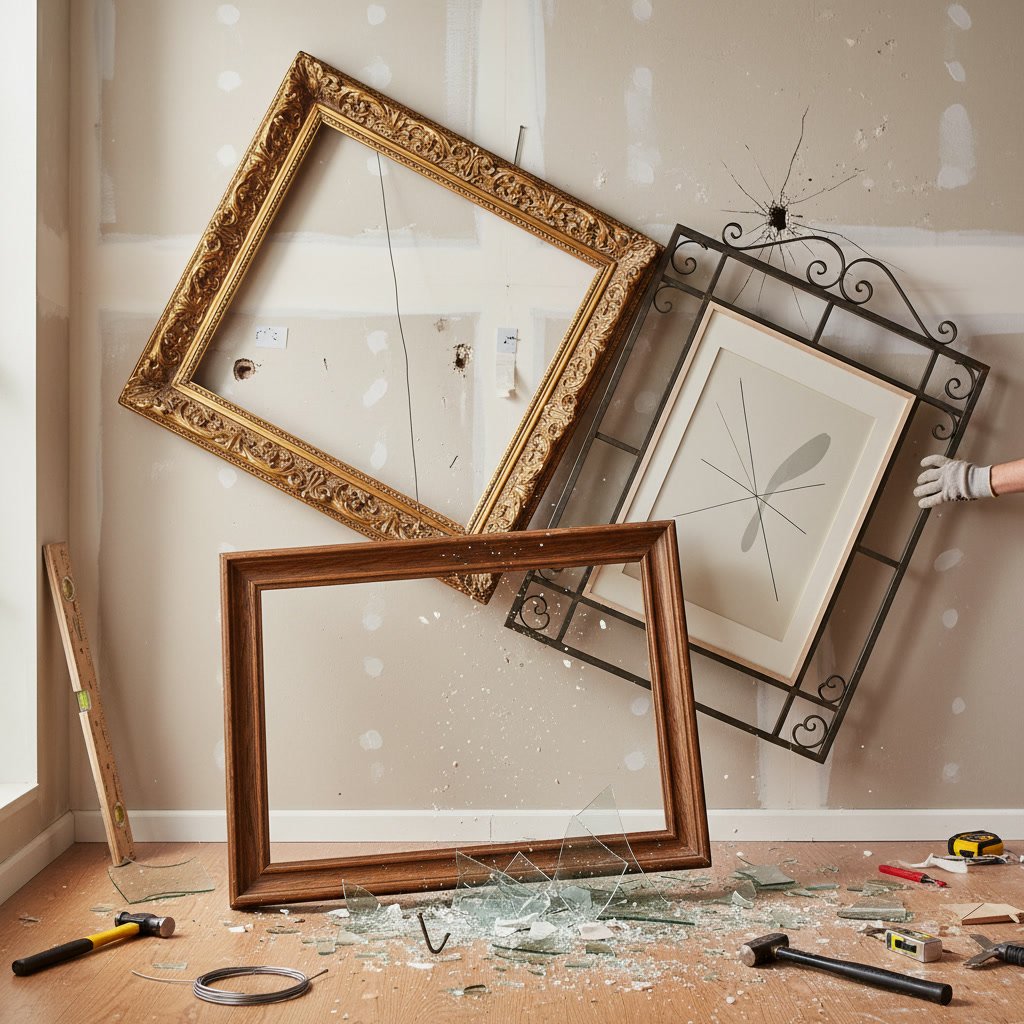
Professional installers prevent costly mistakes. A mirror that falls can shatter and damage flooring. An improperly hung canvas can develop stress tears at the mounting points. Technicians understand which hardware works for which wall type, weight load, and frame style.
Time savings matter too. What takes an experienced installer 15 minutes might consume your entire afternoon, including multiple trips to the hardware store for forgotten supplies or wrong-sized anchors.
The Initial Phone Consultation
Before the technician arrives, the service begins with a phone call. You describe what needs hanging: the number of pieces, approximate sizes and weights, and the room locations. This information helps the installer prepare the right equipment.
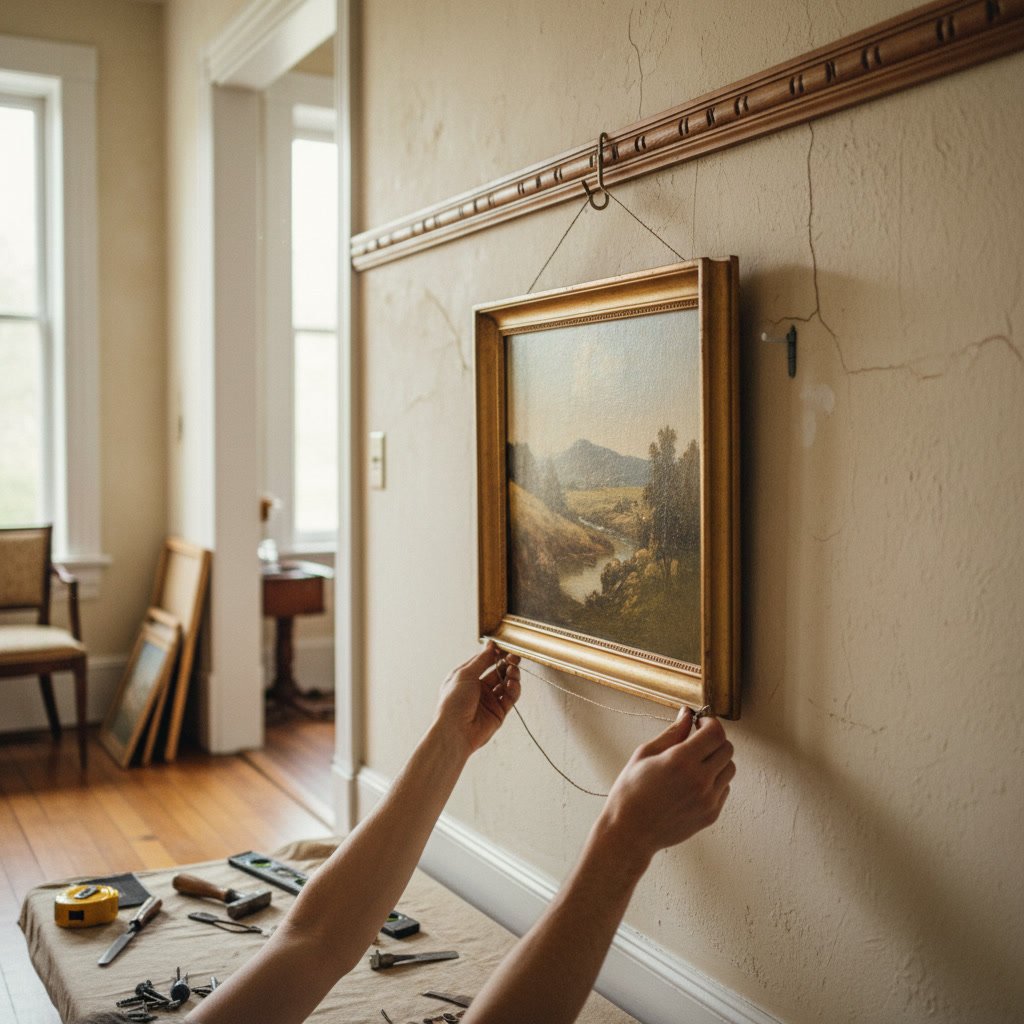
The scheduler asks about your wall types if you know them. Plaster, drywall, brick, and concrete each require different approaches. Some homes built before 1950 have lath and plaster walls that crack easily with standard installation methods.
You also discuss timing preferences and any access considerations. If the artwork hangs in a second-floor bedroom, the technician needs to know. For art and mirror hanging projects involving large or valuable pieces, many homeowners appreciate scheduling during daylight hours for better visibility.

What the Technician Brings to Your Long Grove Home
Professional installers arrive with a complete toolkit. This includes a laser level for perfect alignment, multiple types of picture hangers rated for different weights, wall anchors, toggle bolts, a stud finder, drill, measuring tape, and pencils.
They also carry protective equipment like drop cloths and corner guards to prevent damage during installation. A quality installer brings samples of different hanging systems to show you options you might not have considered.
The variety of hardware matters more than most people realize. A 40-pound mirror needs very different support than a five-pound canvas. Professional-grade hangers distribute weight more effectively than standard picture hooks from big-box stores.
The Room Walkthrough and Consultation
Once the technician arrives, the first step involves walking through your space together. You point out each piece that needs hanging and discuss your vision for placement. This conversation reveals important details.
The installer asks about your preferences for height, spacing, and alignment. Do you want the picture centered on the wall or positioned relative to furniture below? Should multiple pieces align at their tops, bottoms, or centers?
This phase also includes inspecting the actual artwork. The technician checks the existing hanging hardware on the back of each frame, examining D-rings, wire, or sawtooth hangers. Weak or improperly attached hanging systems get noted for reinforcement or replacement.
Wall Analysis and Structural Assessment
Before any drilling happens, the technician analyzes your walls. A stud finder locates the wooden framing members behind drywall. For heavy pieces, mounting directly into studs provides maximum security.
The installer taps the wall surface in several spots, listening for hollow versus solid areas. This acoustic test, combined with visual inspection, reveals wall composition. Different wall types require specific approaches to prevent damage and ensure secure mounting.
If your walls show existing holes from previous hangings, the technician either incorporates them into the new layout or suggests simple patching solutions. Many installers carry spackle for minor repairs as part of the service.

Precise Measurement and Marking
Mathematics transforms wall hanging from guesswork into precision. The standard rule places artwork so the center sits at 57 to 60 inches from the floor, which aligns with average eye level. For pieces hung above furniture, the bottom edge typically sits six to eight inches above the furniture top.
The technician measures from the top of the frame to the hanging point on the back. This measurement gets subtracted from the desired height to determine where the wall anchor goes. A single-inch error here creates noticeably crooked results.
For gallery walls or multiple pieces, the installer often uses painter’s tape to map out the entire arrangement before making any holes. This preview lets you approve spacing and alignment while everything remains adjustable.
Hardware Selection and Installation Process
The installation method depends on three factors: wall type, artwork weight, and existing frame hardware. Here is how professionals match hardware to conditions:
For lightweight pieces under 10 pounds on drywall, a simple picture hanger with angled nail often suffices. The installer drives it at a 45-degree angle for better holding power.
Medium-weight artwork from 10 to 40 pounds typically needs wall anchors. Plastic expansion anchors work for lighter loads, while toggle bolts provide serious holding strength for heavier pieces. The installer drills a pilot hole, inserts the anchor, and screws in the mounting hook.
Heavy mirrors, large canvases, or anything over 40 pounds demands mounting into studs whenever possible. If stud placement does not align with your desired location, the technician uses heavy-duty toggle anchors rated for 100-plus pounds. Similar precision matters for TV mounting projects where weight and safety considerations are even more critical.
Professional installers also know when to upgrade the frame hardware itself. Wire hangers sag over time and make leveling difficult. D-rings with a French cleat system provide superior stability for valuable pieces.
Leveling and Final Adjustments
After securing the wall hardware, the technician lifts the artwork into position. A laser level or traditional bubble level confirms perfect horizontal alignment. Even a two-degree tilt becomes obvious once you notice it.
For pieces hanging from wire, small adjustments to the hanging point on the wall can compensate for uneven wire tension. The installer checks the level, makes micro-adjustments, and rechecks until the result is flawless.
Multiple-piece installations require even more finesse. The technician steps back frequently to assess spacing and alignment from viewing distance, not just from measurement. What looks perfect up close sometimes appears off when viewed from across the room.

Cleanup and Damage Prevention
Professional service includes thorough cleanup. The installer vacuums or sweeps up any drywall dust from drilling. Excess hardware gets packed away. The drop cloth prevents debris from reaching your floors or furniture.
Any wall marks from pencil get erased. If minor touch-ups are needed around new holes or anchor points, the technician addresses them or advises you on simple solutions.
The installer also inspects the surrounding area to confirm no accidental scuffs or marks occurred during the process. Furniture gets returned to its original position if it was moved for access.
Post-Installation Care Instructions
Before leaving, the technician shares important maintenance information. You learn the weight rating of the hardware used, which matters if you ever want to swap artwork on the same hooks.
For pieces hung on wire, you receive guidance about periodic checks. Wire can stretch or fray over years, especially on heavier frames. An annual inspection prevents surprises.
The installer might also suggest future upgrades. If you have additional artwork not hung during this visit, you now know exactly what the job requires. Many customers who start with a few pieces return for picture hanging services as they acquire new artwork or redecorate.
Trusting Experience for Lasting Results
The difference between amateur and professional installation becomes clear over time. Properly installed artwork stays level for years. The wall anchors hold without sagging or pulling free. Your pieces remain exactly where you want them, secure and beautiful.
At Your Service Pros brings 15 years of experience to every installation, backed by over 650 five-star reviews from satisfied customers throughout Chicagoland. The process removes the guesswork, prevents wall damage, and delivers results that look professionally curated rather than hastily assembled.
Whether you need a single family portrait hung or an entire gallery wall designed and installed, understanding the professional process helps you appreciate the skill involved. Every measurement, hardware choice, and leveling adjustment contributes to artwork that enhances your home rather than detracting from it.
At Your Service Pros serves homeowners throughout the northern Chicago suburbs with expert picture hanging, mirror installation, and comprehensive handyman services. Our experienced technicians treat your home and artwork with the care they deserve, ensuring secure, level, and visually perfect results. Schedule your installation appointment by calling +16309017707.