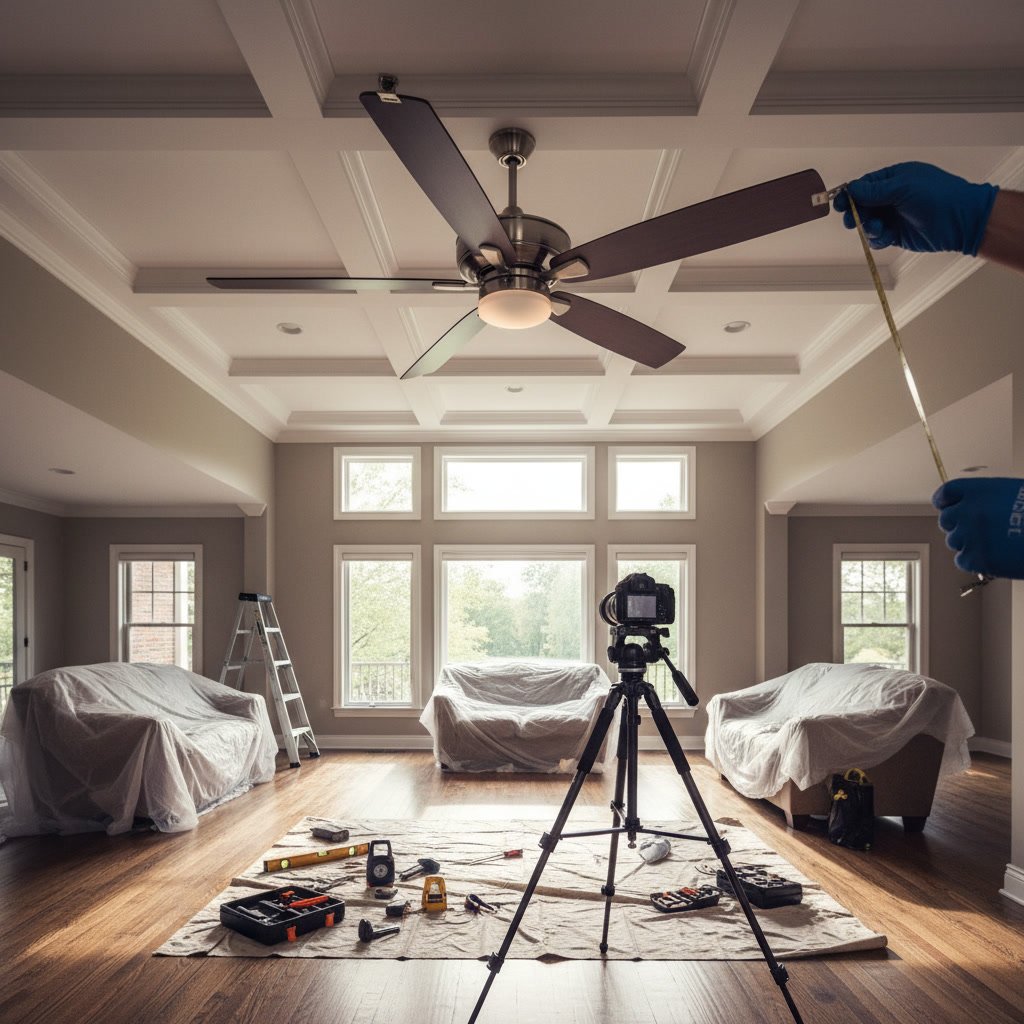
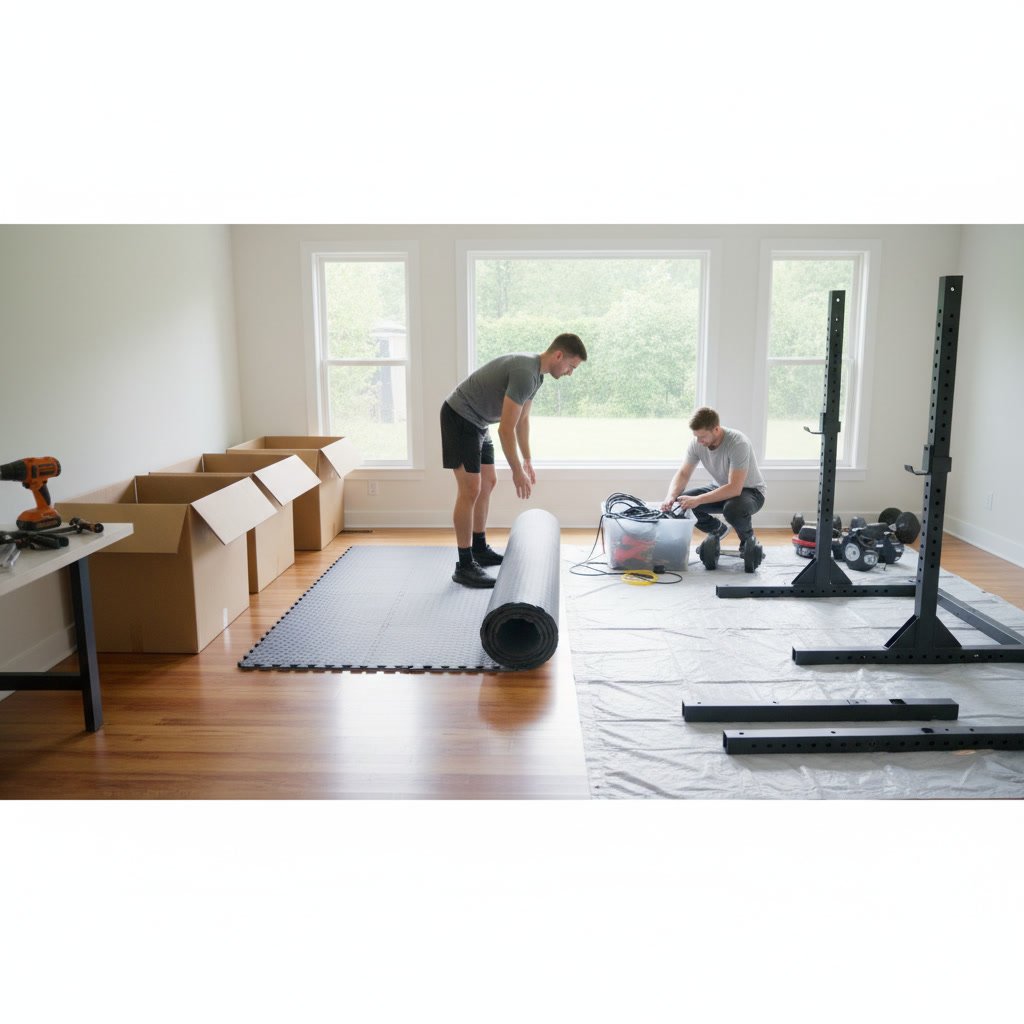
Proper preparation before fitness equipment assembly ensures a smooth installation, prevents damage to your floors and walls, and helps your new home gym function safely from day one. Clear the designated area completely, measure doorways and pathways to confirm equipment can pass through, verify electrical outlets are positioned correctly, and protect your flooring with appropriate padding. Taking these steps before the assembly team arrives saves time and reduces the risk of costly mistakes.
Why Room Preparation Matters for Heavy Equipment
Most home fitness equipment weighs between 200 and 400 pounds when fully assembled. Treadmills, ellipticals, and multi-station gyms require stable flooring, adequate clearance on all sides for safe operation, and sometimes dedicated electrical circuits. Attempting to position equipment after assembly often damages floors, scuffs walls, or risks injury. Planning the layout and preparing surfaces before technicians begin work prevents these issues and ensures your investment lasts longer.
Professional installers work more efficiently when the space is ready. They can focus on proper assembly techniques rather than moving furniture or troubleshooting power issues. This efficiency matters especially in homes where the equipment room serves multiple purposes or has limited square footage.
Measuring Your Space and Equipment Footprint
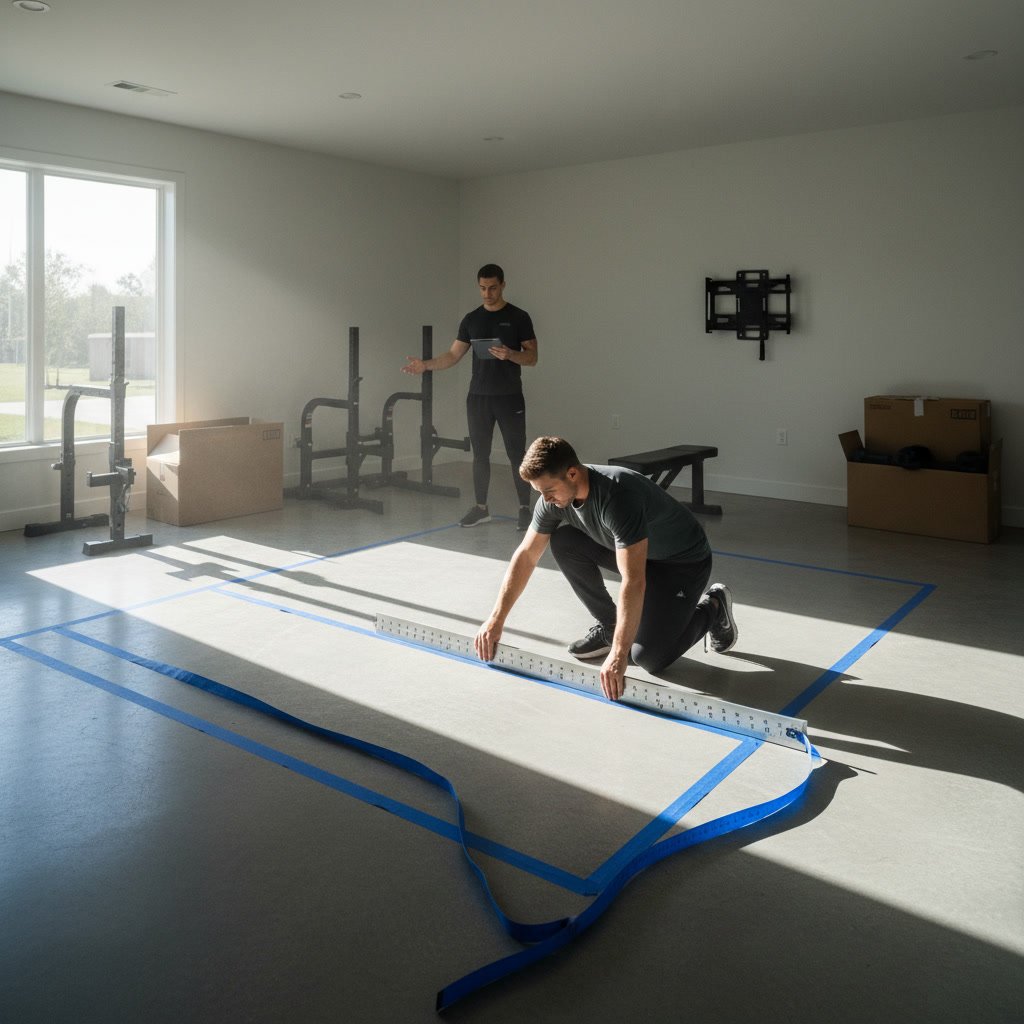
Start by reviewing the manufacturer’s specifications for your equipment. Most brands provide both the machine footprint and the recommended use space, which includes clearance for movement. A typical treadmill might measure 36 inches wide by 72 inches long, but requires an additional 24 inches behind for safe dismount and six inches on each side for airflow.
Use painter’s tape to outline the equipment footprint on your floor before assembly day. This visual guide shows immediately whether the layout works and reveals any obstacles. Measure doorways, hallways, and stairwells along the delivery path. Many large pieces arrive partially assembled, and some components like treadmill decks cannot be disassembled further without specialized tools.
Clearing and Cleaning the Assembly Area in Long Grove
Remove all furniture, decorative items, and area rugs from the designated space at least 24 hours before your scheduled appointment. This includes items on nearby walls, since technicians may need to shift equipment slightly during final positioning. Vacuum or sweep the floor thoroughly. Dust and debris under equipment can cause uneven placement or scratch finished surfaces when the machine is moved into final position.
If your equipment will be installed in a basement or upper floor, clear the entire path from your front door to the final location. Professional teams from Long Grove bring specialized dollies and lifting equipment, but tight corners and cluttered hallways add significant time and risk to the process.
Floor Protection and Surface Considerations
Hardwood, laminate, and tile floors require protective mats under most fitness equipment. A three-quarter-inch rubber mat absorbs vibration, prevents scratching, and protects subfloors from concentrated weight. Purchase mats before assembly day and place them in position so technicians can assemble directly on the protected surface.
Carpeted rooms need special attention. Low-pile commercial carpet handles equipment weight better than plush residential styles. If your carpet is thick or cushioned, consider placing a sheet of three-quarter-inch plywood under the rubber mat to distribute weight evenly. This prevents permanent compression and allows equipment to remain level, which matters for proper belt tracking on treadmills and smooth motion on ellipticals.
Concrete basement floors benefit from interlocking foam tiles or rubber matting. These materials insulate equipment from cold surfaces, reduce noise transmission, and provide a more comfortable surface if you drop weights or perform floor exercises nearby.
Electrical Requirements and Outlet Placement
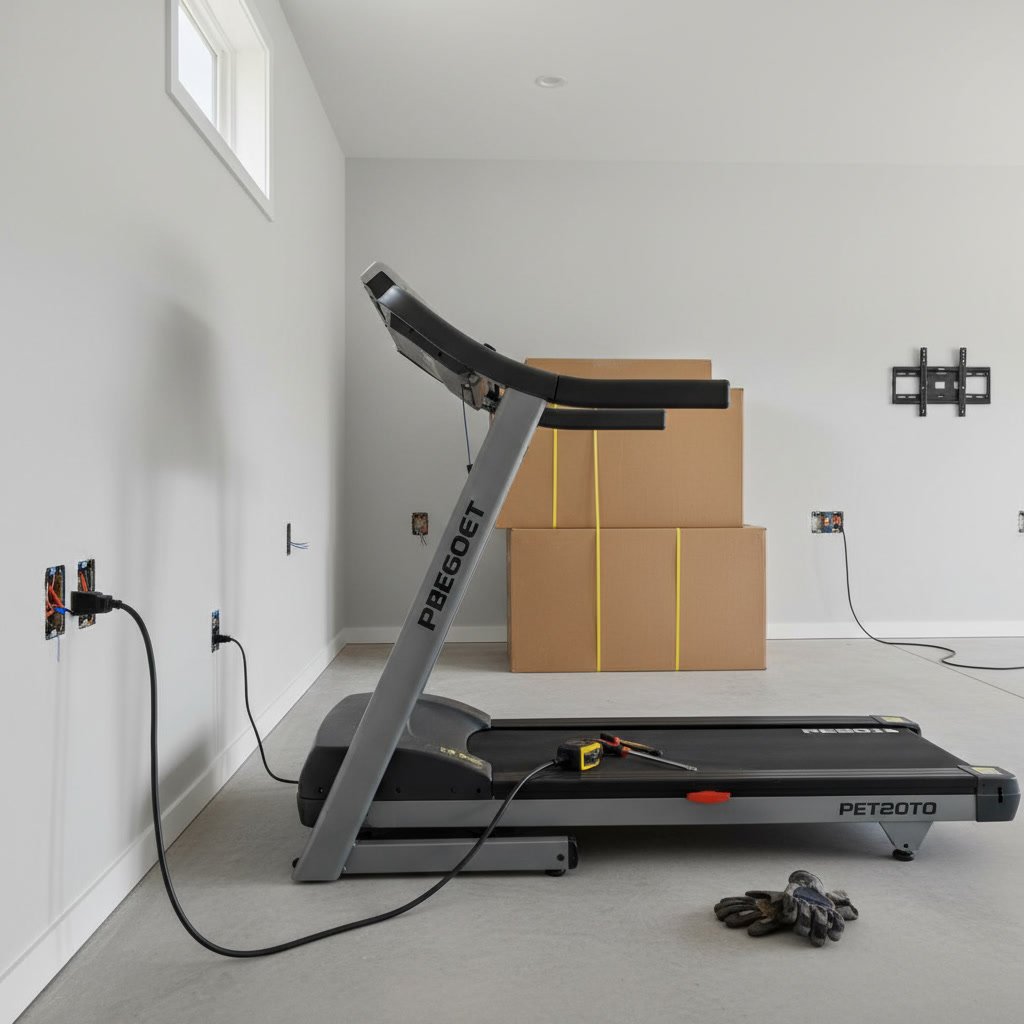
Most motorized fitness equipment requires a dedicated 20-amp circuit. Check your breaker panel before assembly day to identify which outlets connect to dedicated circuits. Standard 15-amp circuits often trip when a treadmill operates at higher speeds or inclines, especially if other devices share the same circuit.
Position equipment so the power cord reaches the outlet without stretching taut or crossing walkways. Never use extension cords with motorized fitness equipment. The voltage drop through long extension cords can damage motors and void manufacturer warranties. If your current outlet configuration does not work, contact a licensed electrician to install an outlet in the correct location before your assembly appointment.
For homes planning multiple equipment installations, consider the full electrical load. Running a treadmill, elliptical, and television simultaneously may require circuit upgrades. The same planning applies if you are also scheduling other electrical projects like Fans & Light Fixtures installations in your home gym.
Step-by-Step Pre-Assembly Checklist
Follow these steps in order 48 hours before your scheduled assembly:
- Measure equipment dimensions and mark floor layout with tape
- Measure all doorways and hallways along the delivery path
- Remove furniture, rugs, and wall decorations from the work area
- Install protective mats or flooring in final positions
- Test electrical outlets with a circuit tester or small appliance
- Clear pathways from entry door to equipment room
- Secure pets in a separate room and inform household members of the appointment
- Unbox equipment if shipped directly to you and verify all components against the parts list
That final step matters more than most homeowners realize. Missing bolts, torn upholstery, or damaged electronic components become obvious during unpacking. Discovering these issues before technicians arrive allows you to contact the manufacturer for replacement parts without delaying your assembly.
Climate Control and Humidity Factors
Electronic consoles, belt systems, and hydraulic resistance mechanisms perform best in climate-controlled environments. If your equipment will be installed in a basement, garage, or sunroom, check temperature and humidity levels. Most manufacturers specify operating ranges between 50 and 90 degrees Fahrenheit with humidity below 70 percent.
Excessive humidity causes rust on weight stacks, corrosion on electronic contacts, and premature wear on belts and rollers. A portable dehumidifier running for several days before assembly helps, especially in below-grade rooms. Extreme cold affects LCD screens and lubricants. Equipment stored in unheated spaces during winter should acclimate to room temperature for 24 hours before assembly begins.
Tools and Assembly Support
Professional assembly teams bring specialized tools, but having basic items available helps if adjustments are needed. Keep a shop vacuum accessible for cleanup, a step ladder for reaching tall equipment, and good lighting. Most installers appreciate a stable work light if your equipment room has limited overhead fixtures.
Plan to have an adult household member present during the entire appointment. Technicians may need to ask questions about placement preferences, test equipment operation, or access different areas of your home. Someone familiar with the space makes the process smoother. This same approach works well for other home improvement projects, whether you are scheduling Furniture Assembly or Closets & Shelves installations.
Special Considerations for Multi-Station Gyms
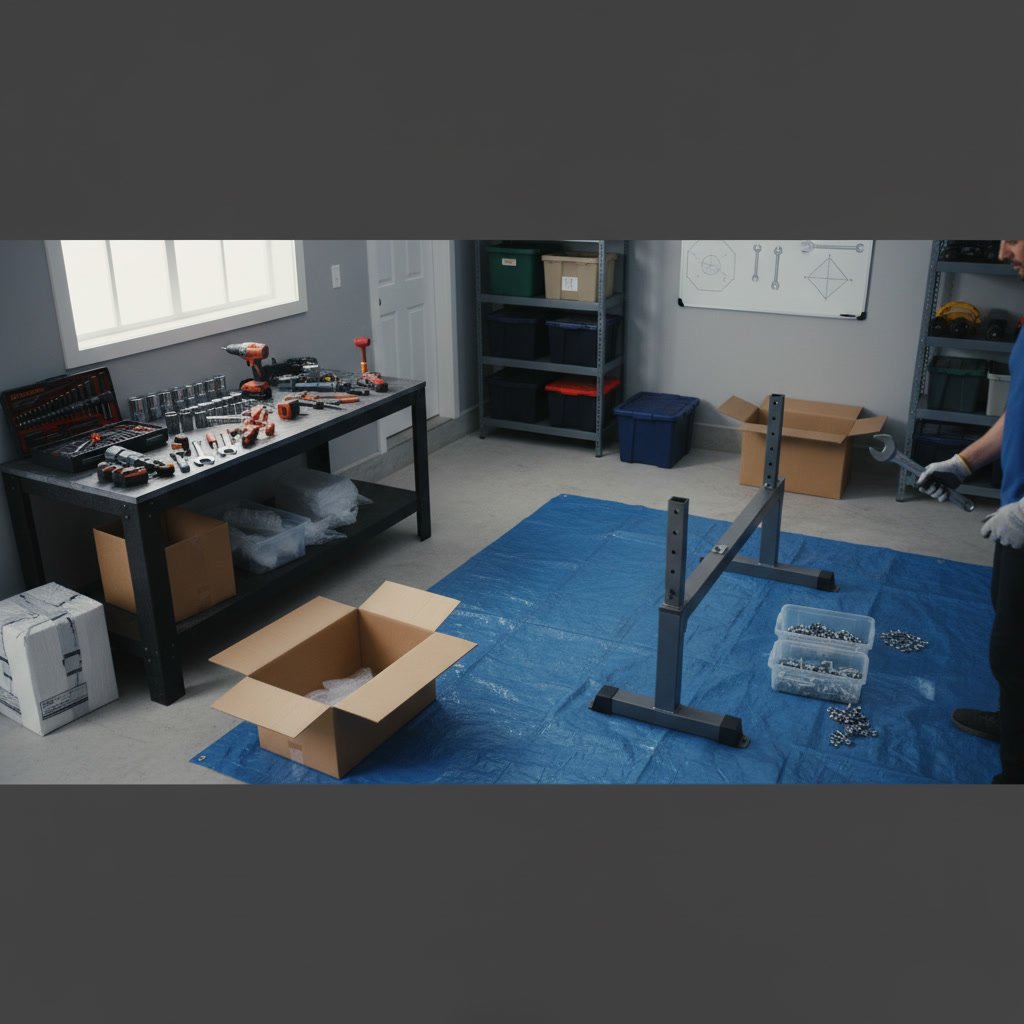
Cable crossover systems, Smith machines, and power racks require wall or floor anchoring for safety. Before assembly day, determine whether your walls have studs in the correct positions or if floor anchoring is the better option. Concrete floors need pre-drilled holes with expansion anchors. Wood subfloors require lag bolts into floor joists.
If wall anchoring is necessary, locate studs with a quality stud finder and mark positions with tape. Some equipment allows adjustable positioning within a six-inch range, giving flexibility for stud placement. For installation details similar to what is required for heavy mirrors or shelving, the principles used in our complete setup guide for homeowners apply equally to multi-station gym equipment.
Coordinating Delivery and Assembly Timing
Many retailers deliver equipment on one day and schedule assembly through a separate company days later. This gap means you need temporary storage space for large boxes. Garages work well if weather permits, but basements and spare bedrooms also suffice. Keep boxes away from heating vents, water heaters, and areas where children or pets play.
If delivery and assembly happen simultaneously, confirm with both companies that timing aligns. Nothing delays assembly faster than discovering the delivery truck runs three hours late while your assembly team waits. Most professional services offer flexible scheduling, and clear communication prevents wasted appointments.
What to Expect on Assembly Day
Professional technicians typically spend 90 minutes to three hours assembling standard home fitness equipment. Complex multi-station gyms may take longer. Technicians will unpack components, check for damage, assemble according to manufacturer specifications, level and position the equipment, test all functions, and demonstrate proper use and basic maintenance.
They should also remove all packaging materials unless you request otherwise. Some homeowners keep original boxes for potential moves or resale. If you want packaging removed, confirm this service is included when booking your appointment.
Making Your Investment Last
Proper space preparation protects your equipment investment from the first day. Equipment positioned correctly on appropriate surfaces with adequate electrical supply operates more quietly, requires less maintenance, and retains higher resale value. The 30 minutes spent measuring, clearing, and protecting your space prevents hours of frustration and potential damage later.
At Your Service Pros brings 15 years of experience to every installation, ensuring your home gym equipment is assembled safely and positioned for optimal performance. Whether you are setting up a single treadmill or a complete home fitness center, proper preparation makes the difference between a smooth professional installation and a stressful experience. Our team serving communities throughout Chicagoland understands the unique challenges of different home styles and floor plans.
Ready to schedule your Fitness Equipment assembly with a team that values your home as much as you do? At Your Service Pros makes the process simple from start to finish. Call +16309017707 to discuss your project and schedule an appointment that fits your timeline.