Your new Peloton just arrived, and the box sitting in your living room is both exciting and intimidating. For Northbrook homeowners investing in premium fitness equipment, proper assembly makes the difference between a smooth start to your fitness journey and hours of frustration. This guide walks you through everything you need to know about Peloton assembly Northbrook residents face, from unboxing to your first ride.
Whether you ordered the Bike, Bike+, or Tread, understanding the assembly process helps you decide if this is a DIY project or when professional help makes sense. The process typically takes 60 to 90 minutes for experienced assemblers, but first-timers often spend two to three hours or more.
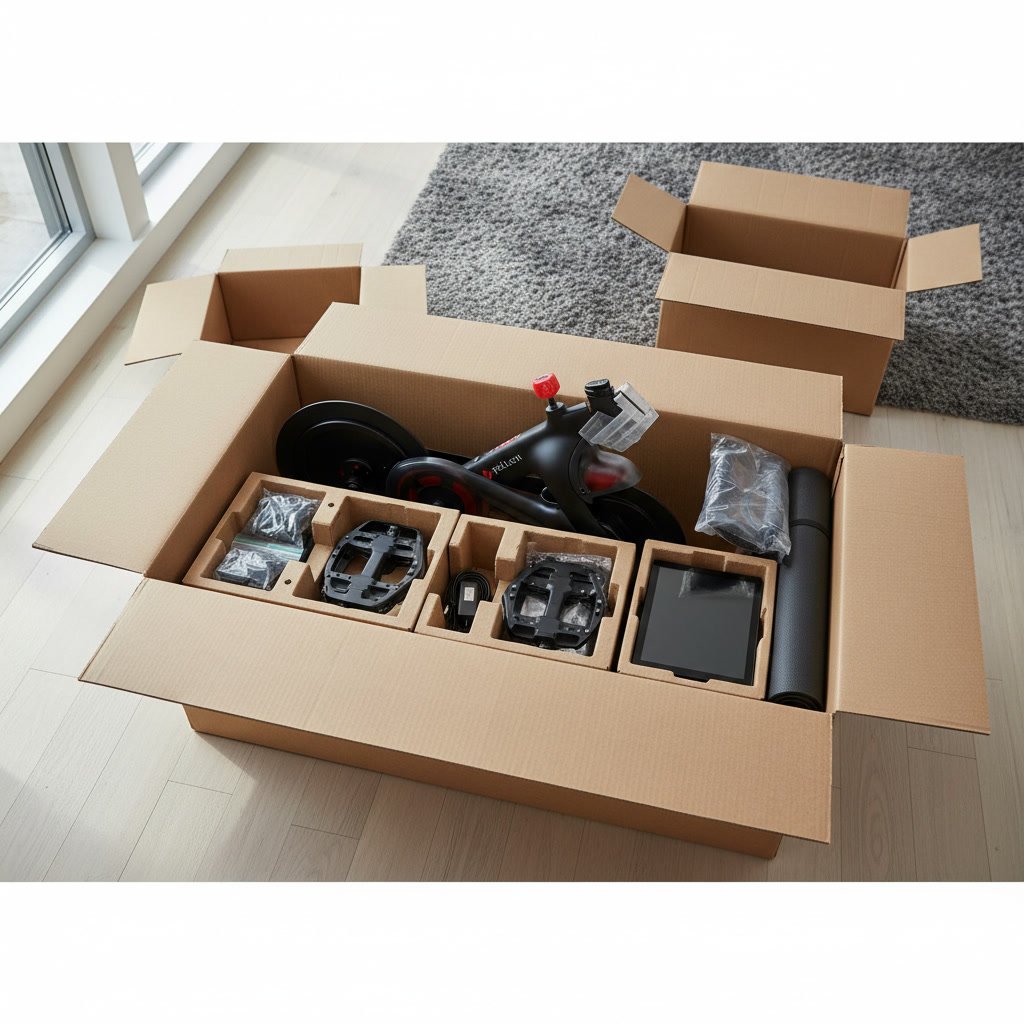
What Comes in Your Peloton Box
Before starting any Peloton assembly Northbrook project, verify all components arrived intact. The bike box weighs approximately 135 pounds, while the Tread can exceed 300 pounds. Both require careful handling to avoid injury or damage.
The Peloton Bike package includes the main frame, touchscreen monitor, resistance knob, seat, handlebars, front and rear stabilizers, water bottle holders, dumbbells (if ordered), power cable, and all necessary hardware. The Bike+ adds auto-follow resistance components and a rotating monitor mount.
Every package contains an assembly manual with step-by-step instructions. Read through the entire manual before opening any plastic wrap or removing zip ties. This preview helps you understand the sequence and identify potential challenges in your specific space.
Check for shipping damage immediately. Dents, cracks, or missing pieces should be reported to Peloton within 48 hours. Take photos of any damage before proceeding with assembly, as this documentation proves valuable if replacement parts become necessary.
Essential Tools and Preparation
Peloton includes most tools needed for assembly, but having additional equipment makes the job easier and safer. The included toolkit contains Allen wrenches and a wrench for pedal installation. You should supplement these with a Phillips head screwdriver, adjustable wrench, and level.
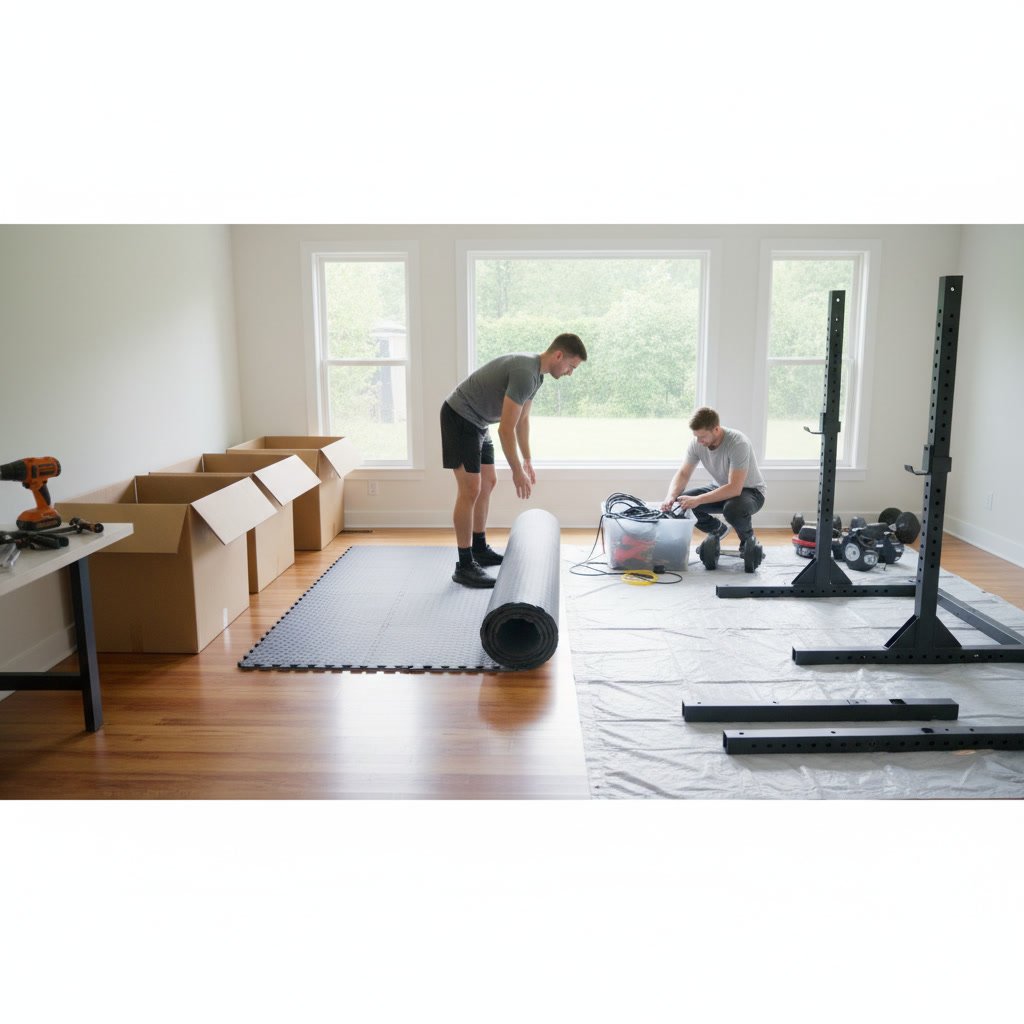
Clear a workspace at least 4 feet by 2 feet for the Bike or 6 feet by 3 feet for the Tread. This space allows comfortable movement around the equipment during assembly. Many Northbrook homes have hardwood floors, so lay down cardboard or moving blankets to protect surfaces during the build process.
Gather scissors or a box cutter for packaging, though exercise extreme caution when cutting near components. A phone or tablet helps if you need to reference Peloton’s online assembly videos alongside the printed manual.
Choosing Your Final Location
Decide on permanent placement before assembly. Moving a fully assembled Peloton bike requires two people and risks damaging floors or the equipment itself. The Tread is even more challenging to relocate after assembly.
Consider proximity to electrical outlets, as extension cords void the warranty and create tripping hazards. Allow at least 24 inches of clearance on each side of the bike and 24 inches behind it. The Tread requires significantly more space, with recommendations of 6 feet behind the platform.
Account for ventilation and climate control. Basements in Northbrook homes can be cooler and more humid, potentially affecting the touchscreen and mechanical components over time. A climate-controlled space on the main floor often works best.
Step-by-Step Peloton Bike Assembly Process
Start by attaching the front and rear stabilizers to the main frame. These pieces bolt onto the base and provide stability during intense rides. Tighten all bolts firmly, but avoid overtightening, which can strip threads or crack plastic components.
The seat post slides into the frame and locks with a pull-pin mechanism. Adjust height before fully tightening to save time later. Peloton uses numbered settings, with most riders finding their optimal position between 15 and 25 on the vertical scale.
Handlebar installation follows a similar process. The handlebars attach to the front of the frame with four bolts. Ensure the handlebar is level before final tightening. An uneven handlebar creates discomfort during longer rides and may indicate improper assembly.
Pedal Installation Requires Attention
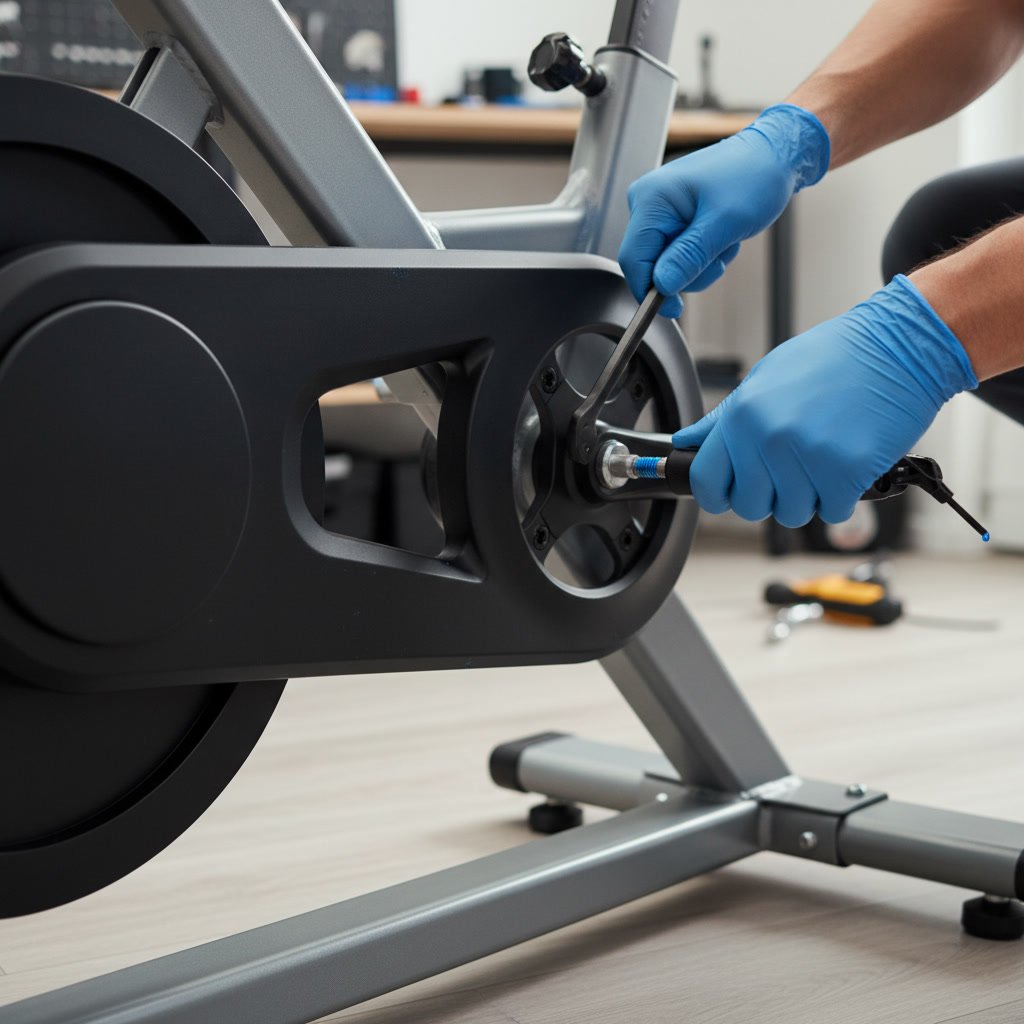
Pedals are marked L (left) and R (right). The left pedal has reverse threading, meaning you turn it counterclockwise to tighten. This reverse thread prevents the pedal from loosening during backward motion. The right pedal uses standard clockwise threading.
Thread each pedal by hand first to ensure proper alignment. Cross-threading ruins the crank arm and requires expensive replacement. Once hand-tight, use the included pedal wrench to secure firmly. You need significant force here; loosely attached pedals create clicking noises and potential safety hazards.
Apply a small amount of grease to pedal threads if you plan to swap pedals in the future. This step prevents seizing and makes removal easier down the line.
Touchscreen Monitor Mounting
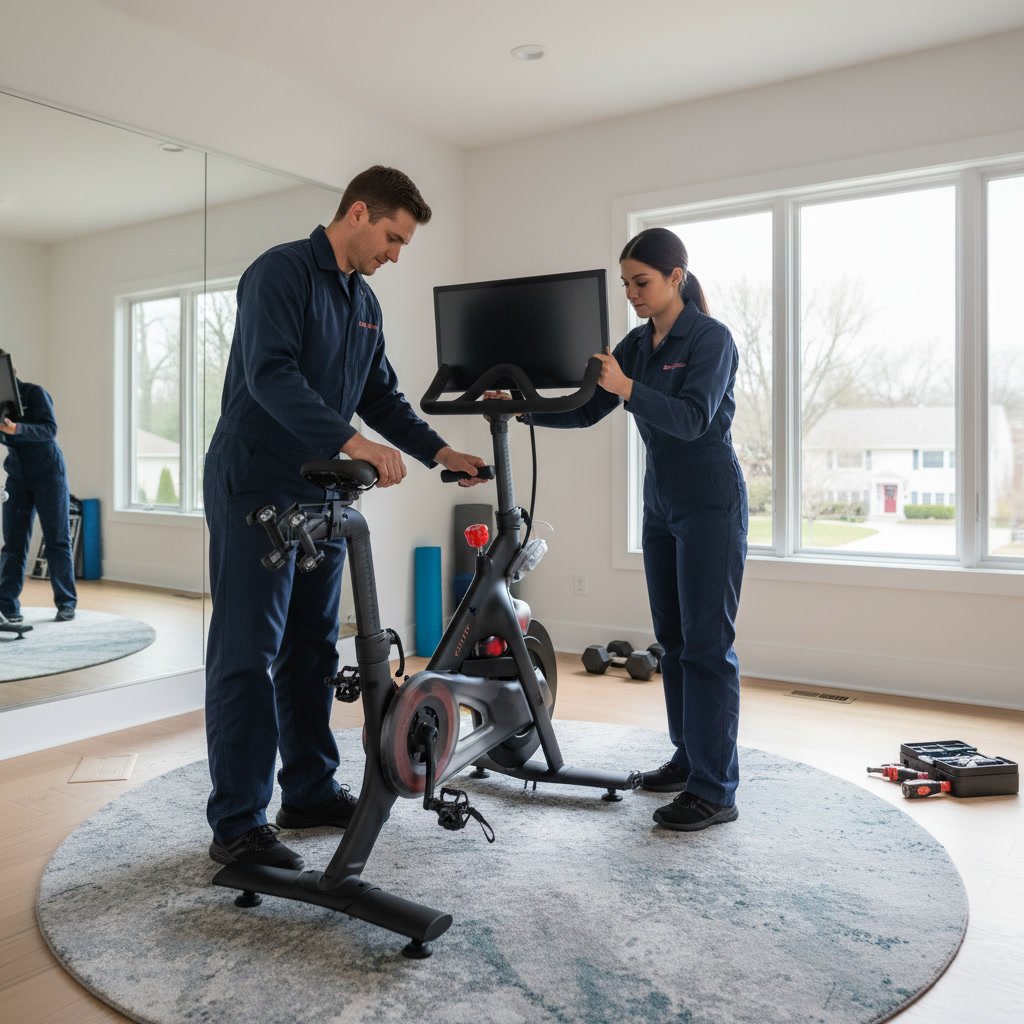
The monitor is the most delicate component and requires two people for safe installation. One person supports the screen while the other guides the cables through the frame and makes connections.
Three cables connect the monitor: power, data, and audio (Bike+ only). These cables route through the frame’s hollow channel. Feed cables gently and avoid pinching them between frame components. Damaged cables cause intermittent connectivity issues that are difficult to diagnose later.
Once cables are connected, the monitor slides onto its mount bracket and secures with bolts. The Bike+ monitor rotates 360 degrees, so verify smooth rotation before considering this step complete.
Common Assembly Mistakes to Avoid
Rushing through the process leads to errors that compromise safety and performance. The most common mistake is inadequate bolt tightening. Vibration during rides gradually loosens hardware, so check all connections are snug before your first workout.
Reversed or cross-threaded pedals rank as the second most frequent error. Always verify the L and R markings and thread carefully. If resistance occurs immediately when threading, stop and realign rather than forcing the connection.
Improper leveling causes the bike to rock during standing climbs or sprints. Use the adjustable feet on the stabilizers to compensate for uneven floors. Place a level on the seat and adjust until the bubble centers. Most Northbrook homes have relatively level floors, but even minor variations affect ride quality.
Pro Tip: After your first ride, recheck all bolts and connections. The initial workout settles components into place, and a quick retightening session prevents issues before they develop.
Peloton Tread Assembly Differences
The Tread assembly process is substantially more complex than the bike. The running platform arrives in multiple heavy sections that must be aligned precisely. Peloton strongly recommends professional assembly for the Tread, and some insurance policies require it to maintain coverage.
If you proceed with DIY Tread assembly, recruit at least one additional person, preferably two. The deck section alone weighs over 100 pounds. Lifting and aligning this component without proper technique risks serious injury.
Belt alignment is critical for Treads. A misaligned belt creates uneven wear and potential safety hazards. The adjustment process requires specific tools and knowledge of proper tension. Too loose and the belt slips; too tight and you prematurely wear bearings and motors.
Electrical requirements for the Tread exceed those of the bike. The Tread requires a dedicated 20-amp circuit in most cases. Many older Northbrook homes need electrical upgrades to safely support Tread operation. Consult a licensed electrician before installation if your home was built before 1990.
When to Choose Professional Assembly
Several situations make professional Peloton assembly Northbrook services the smarter choice. Limited mechanical experience tops the list. If you have never assembled furniture or exercise equipment, the learning curve for Peloton assembly may prove frustrating.
Physical limitations affect your ability to safely handle heavy components. The bike frame, monitor, and Tread sections require lifting, bending, and precise positioning. Back problems, joint issues, or general strength concerns make professional help a wise investment.
Time constraints drive many homeowners to professional assembly. Between unpacking, reading instructions, gathering tools, and the actual build, DIY assembly consumes three to four hours for first-timers. Professionals complete the job in under 90 minutes, including testing and calibration.
Warranty considerations matter for premium equipment. While DIY assembly does not void Peloton’s warranty, improper assembly can cause damage that is not covered. Professional assemblers carry insurance and guarantee their work, providing additional protection for your investment.
Professional Assembly Includes Extra Services
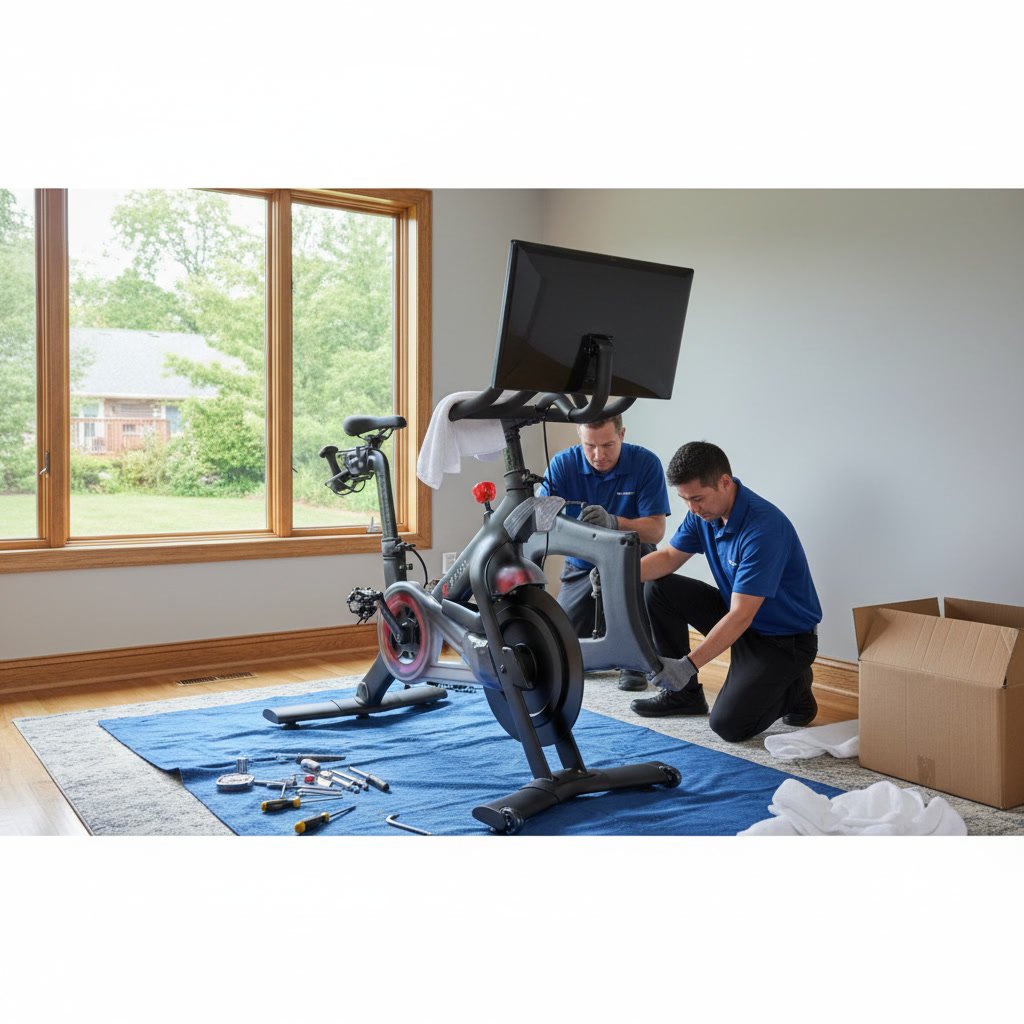
Experienced assembly services offer benefits beyond basic construction. They handle all packaging removal and disposal, sparing you the hassle of breaking down large cardboard boxes and managing styrofoam.
Professionals optimize placement for safety and performance. They identify potential issues like inadequate clearance, poor lighting, or problematic flooring before they cause problems. Their experience with hundreds of installations provides insights that manuals cannot convey.
Setup and calibration extend beyond physical assembly. Professionals ensure WiFi connectivity, create your user profile, demonstrate basic functions, and verify the touchscreen responds correctly. This orientation saves time and eliminates the common new-user frustrations.
Post-Assembly Setup and Calibration
Physical assembly represents only part of the setup process. The touchscreen requires WiFi configuration, account creation, and software updates. Position your router within 30 feet of the bike if possible, or consider a WiFi extender for basement installations.
Account setup walks you through personal information, payment details, and user profiles. Multiple family members can create individual profiles, each tracking separate metrics and class history. Configure these profiles during initial setup to avoid confusion later.
The Bike+ requires output calibration to ensure resistance levels match instructor calls accurately. This process takes about five minutes and involves following on-screen prompts while adjusting resistance. Calibration ensures your level 40 matches the intended difficulty of a level 40.
Test all features before your first official workout. Verify the touchscreen responds to touch, speakers produce clear audio, and resistance adjusts smoothly through the full range. Check that the water bottle holder sits securely and the seat adjusts easily across its full range of motion.
Maintaining Your Peloton After Assembly
Proper maintenance starts immediately after assembly. Wipe down the bike after every ride to remove sweat, which corrodes metal components and damages electronic connections over time. Use a microfiber cloth slightly dampened with water, avoiding harsh chemicals near the touchscreen.
Check bolt tightness monthly. Vibration gradually loosens connections, particularly on the seat post and handlebars. A quick inspection with an Allen wrench takes five minutes and prevents unexpected failures during intense workouts.
Clean the touchscreen weekly with a screen-safe cleaner. Avoid ammonia-based products, which damage the anti-glare coating. Fingerprints and dust accumulate quickly on high-use screens, affecting visibility during classes.
Vacuum around and under the bike regularly. Dust and debris accumulate in the flywheel area and can enter the belt housing. This contamination increases wear on moving parts and creates noise during operation.
Frequently Asked Questions
How long does Peloton assembly take for a beginner?
First-time assemblers typically need two to three hours for a Peloton Bike and four to five hours for a Tread. These times include unboxing, reading instructions, actual assembly, and basic setup. Having a helper reduces time by 30 to 40 percent. Professional assembly services complete the job in 60 to 90 minutes.
Can one person assemble a Peloton Bike alone?
One person can assemble a Peloton Bike, though certain steps are easier with help. Monitor installation benefits most from a second set of hands to support the screen while making cable connections. The Tread requires at least two people due to weight and complexity, and Peloton recommends professional installation for safety reasons.
What should I do if I am missing parts after delivery?
Contact Peloton support immediately if parts are missing. They ship replacement components at no charge, typically arriving within three to five business days. Do not attempt to substitute parts from hardware stores, as incorrect specifications can damage the equipment or create safety hazards. Take photos of all received components to expedite the support process.
Do I need special flooring under my Peloton?
Special flooring is not required but highly recommended. A bike mat protects floors from sweat damage and reduces noise transmission to lower levels. Mats also help level the bike on slightly uneven surfaces. Carpet works but may compress under the stabilizers over time, requiring releveling. Hard surfaces like tile, hardwood, or concrete work well with a protective mat.
How much clearance space does a Peloton need?
Peloton recommends 24 inches on each side of the bike and 24 inches behind it for safe entry, exit, and stretching. The bike itself occupies approximately 4 feet by 2 feet of floor space. Plan for a total footprint of at least 7 feet by 5 feet. The Tread requires substantially more space, with at least 6 feet behind the platform and 2 feet on each side for safety.
Get Professional Help with Your Peloton Setup
Setting up your Peloton correctly ensures years of reliable performance and safe workouts. While many Northbrook homeowners successfully assemble their equipment, professional installation eliminates stress and guarantees proper setup from day one.
At Your Service Pros handles fitness equipment assembly throughout Northbrook and surrounding Chicagoland communities. With 15 years of experience and over 650 five-star reviews, their team ensures your Peloton is assembled correctly, calibrated properly, and ready for your first ride. They manage everything from unboxing to final testing, including packaging removal and placement optimization.
For professional Peloton assembly Northbrook residents trust, contact At Your Service Pros at +16309017707. Their experienced technicians serve Long Grove, Northbrook, Highland Park, and communities throughout the North Shore, bringing the tools, expertise, and efficiency that turn a potentially frustrating afternoon into a quick, professional installation.