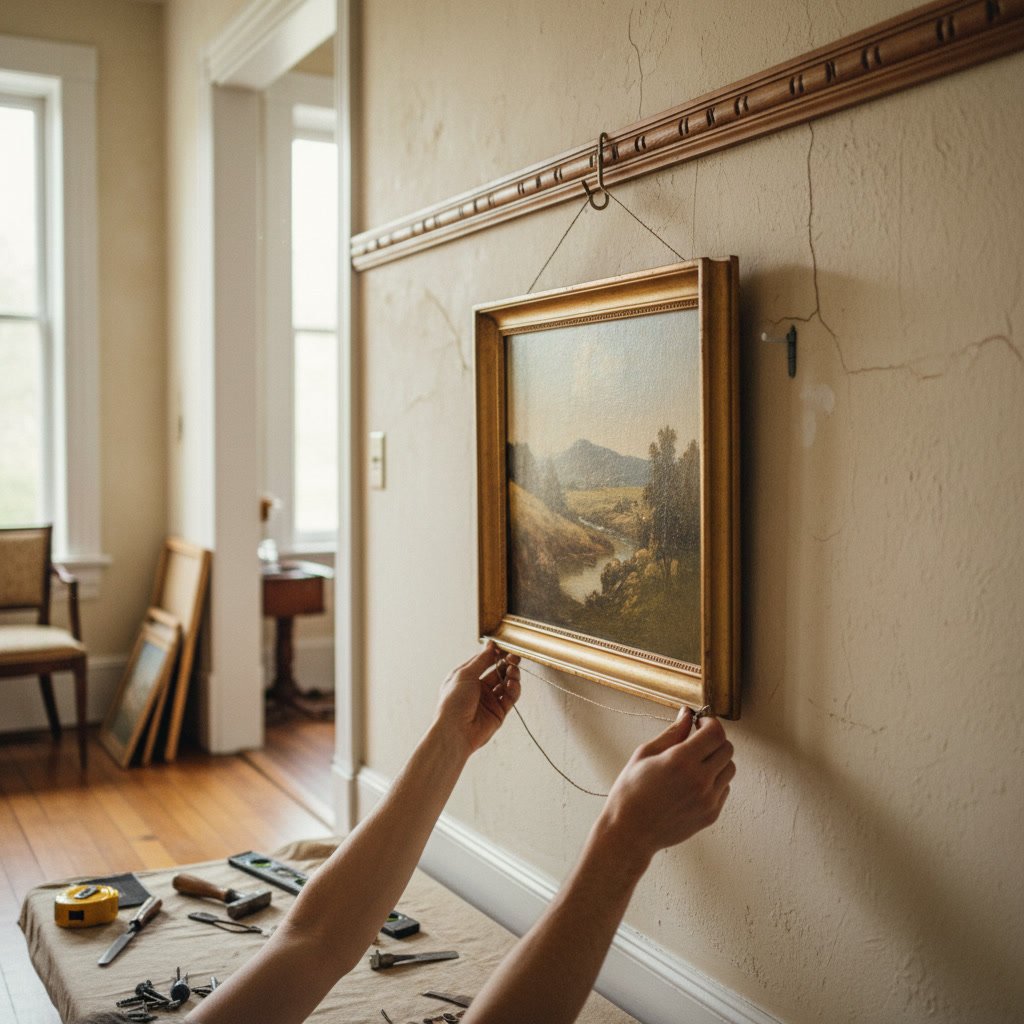
Plaster walls require specialized anchors, drilling techniques, and hardware because the material is denser and more brittle than modern drywall. Unlike drywall’s predictable gypsum core, plaster over wood or metal lath creates a harder surface that resists penetration but cracks easily if handled incorrectly. When hanging pictures plaster walls demand respect for their age and composition, rewarding careful technique with superior holding strength.
Why Plaster Behaves Differently Than Drywall
Plaster walls consist of multiple layers applied over lath, creating a surface that’s two to three times harder than drywall. The base coat, brown coat, and finish coat combine to form a shell typically three-quarters of an inch thick. This density means standard drywall nails often bend or break rather than penetrate cleanly.
The brittleness of aged plaster poses the biggest challenge. Decades of settling, moisture cycles, and structural movement create invisible stress points throughout the material. A nail driven forcefully into what appears to be solid plaster can send hairline cracks radiating several inches in any direction. These cracks often appear hours or days after installation as the material continues to relieve stress.
Wood lath behind the plaster sits perpendicular to wall studs, spaced roughly three-eighths of an inch apart. This creates hollow channels that affect how anchors grip. Metal lath, common in homes built between 1920 and 1950, provides better backing but conducts vibration differently than wood.
Identifying True Plaster in Long Grove Historic Homes
Many older homes in Long Grove feature original plaster that homeowners sometimes mistake for textured drywall. Push a thumbtack into an inconspicuous spot near the baseboard. If it requires significant force and makes a hard, almost ceramic sound, you’re dealing with plaster. Drywall accepts a thumbtack with gentle pressure and produces a softer, duller sound.
Check the thickness by removing an outlet cover and examining the wall edge. Drywall measures exactly one-half inch thick in almost all residential applications. Plaster over lath ranges from five-eighths to one full inch, with visible layer distinctions if you look closely.
The Wrong Hardware Creates Permanent Damage
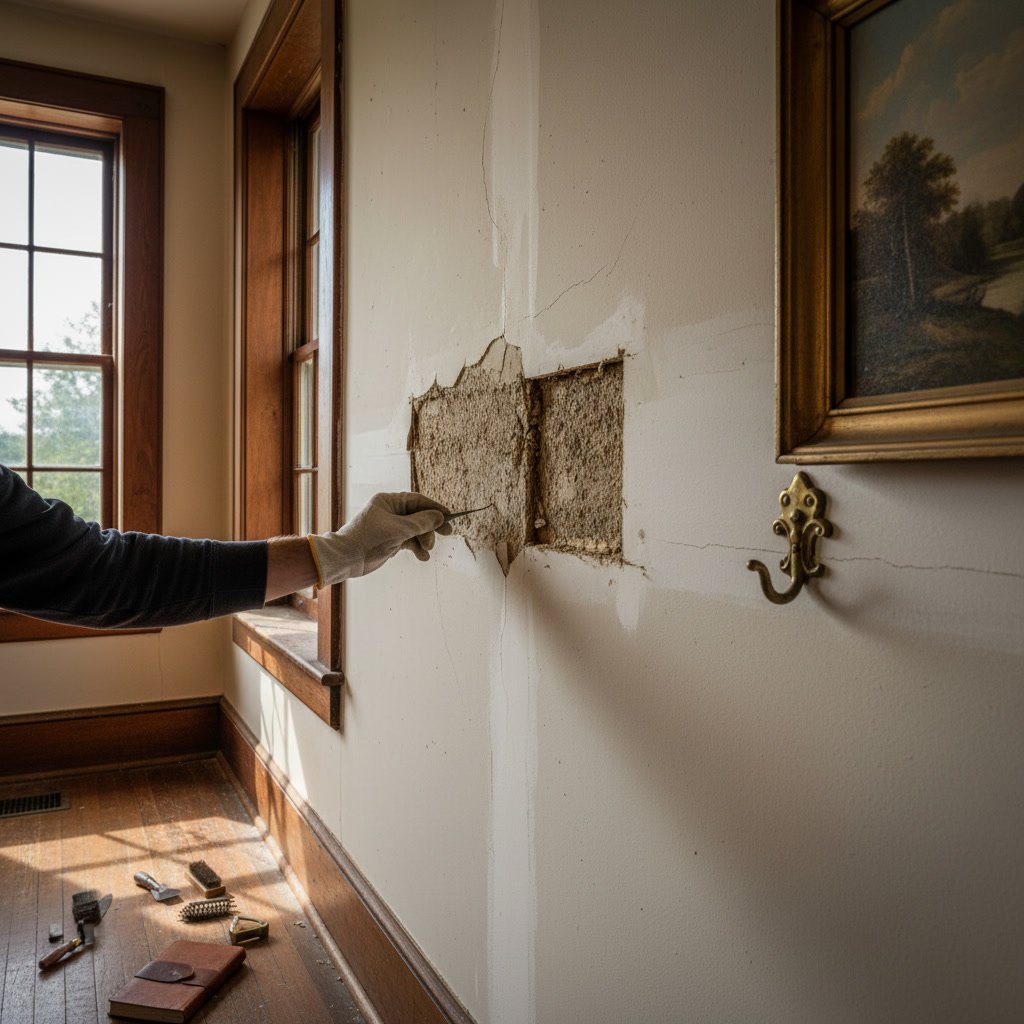
Standard picture hanging nails designed for drywall create stress concentrations that plaster cannot absorb. The shanks are too thick and the taper too abrupt, forcing the plaster to displace rather than yield. This displacement energy translates directly into cracks.
Toggle bolts and plastic expansion anchors also fail in plaster for different reasons. Toggles require holes so large that they compromise the plaster’s integrity, especially near edges or corners. Plastic anchors rely on expansion force that brittle plaster cannot accommodate. The anchor either spins uselessly or fractures the surrounding material into a crater.
Even the ubiquitous sawtooth hanger becomes problematic on plaster. The single-point suspension creates a moment arm that works the nail back and forth with every air current or passing footstep. Over months, this micro-movement enlarges the hole until the nail pulls free, often bringing a divot of plaster with it.
Selecting the Right Anchors for Plaster
Threaded hardened-steel anchors designed specifically for masonry applications perform best in plaster. These screws cut their own threads as they advance, distributing load across a larger surface area than nails. The threading provides mechanical interlock rather than relying solely on friction.
For pictures weighing less than 10 pounds, traditional plaster hooks with hardened-steel pins offer reliable performance. These hooks drive at a 45-degree angle, directing force into the wall rather than pulling straight out. The pin’s small diameter minimizes material displacement while the angle creates a mechanical advantage against gravity.
Pictures between 10 and 25 pounds benefit from two-point suspension using screws driven into the wood lath behind the plaster. Locate the lath by tapping along the wall and listening for the subtle pitch change that indicates solid backing. The lath runs horizontally, so once you find one strip, others sit approximately 16 inches above or below.
Heavy mirrors, artwork over 25 pounds, or anything irreplaceable should always anchor directly into wall studs. The additional effort of locating studs pays dividends in security and peace of mind. Professional Art & Mirror Hanging services routinely use stud mounting for valuable pieces regardless of weight.
Step-by-Step Drilling Technique That Prevents Cracking
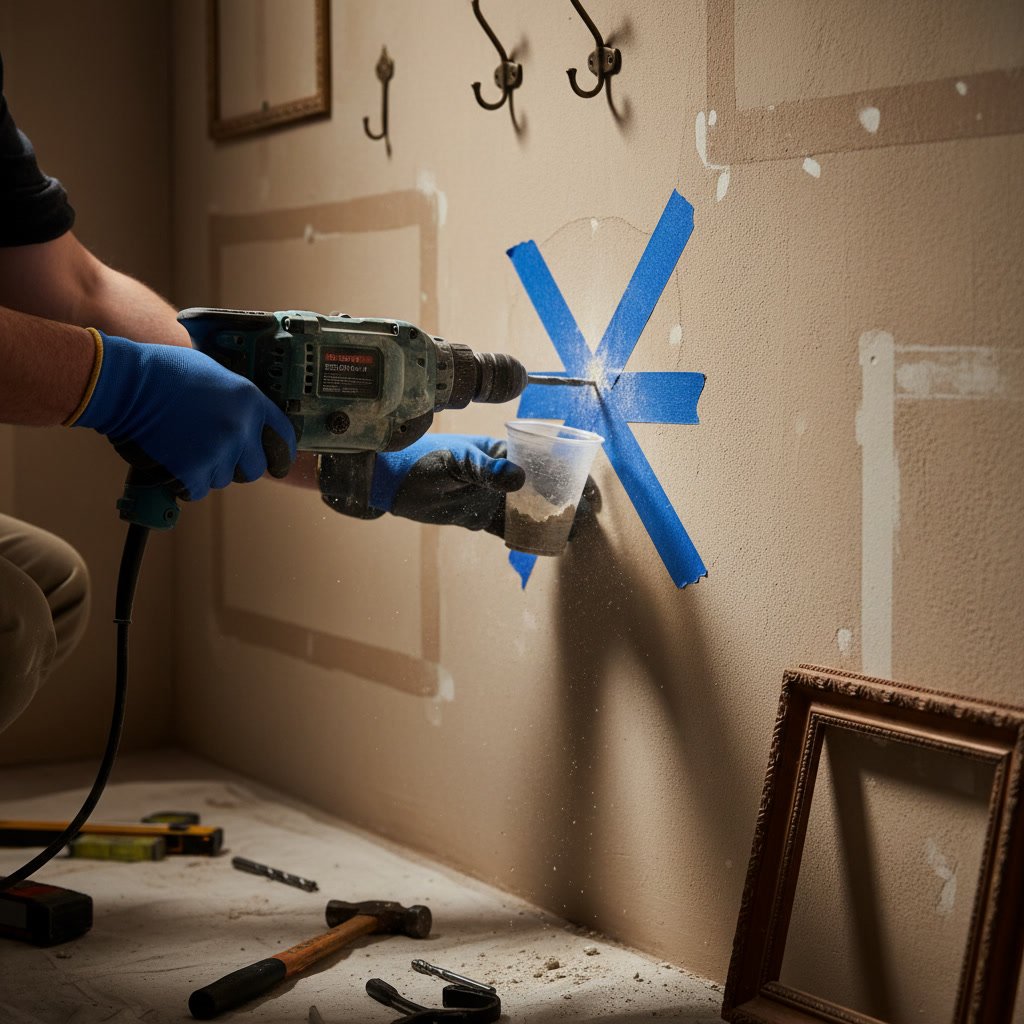
Mark your hanging point with a pencil, then apply a small piece of painter’s tape over the mark. The tape provides a smooth surface that prevents the drill bit from wandering and helps contain any surface crumbling. Use a sharp bit specifically rated for masonry, never a wood or general-purpose bit.
Set your drill to rotation-only mode, never hammer mode. Hammer drills pulverize plaster into powder and guarantee cracks. Start at the lowest speed setting and maintain steady, gentle pressure. Let the bit’s cutting edges do the work rather than forcing penetration.
Drill in five-second intervals with three-second pauses between. This intermittent technique allows heat to dissipate and prevents binding. If you feel sudden loss of resistance, you’ve broken through the plaster into the cavity behind. Stop immediately and assess whether you’ve hit lath or empty space.
Keep the drill perfectly perpendicular to the wall throughout the process. Angled drilling creates oval holes that reduce holding power and increase the risk of edge chipping. If the bit binds, reverse slowly to clear debris rather than forcing forward.
Managing Weight Distribution Across Multiple Points
Plaster’s hardness actually provides superior holding strength compared to drywall when you use appropriate hardware. A properly installed masonry screw in solid plaster can support 50 pounds or more. The key lies in distributing that weight across multiple anchors rather than trusting a single point.
Gallery walls in historic homes should employ the two-hook minimum for every frame over five pounds. Position hooks so the vertical distance between them equals roughly one-third the frame height. This creates a stable hanging plane that resists tilting and reduces stress on individual anchors.
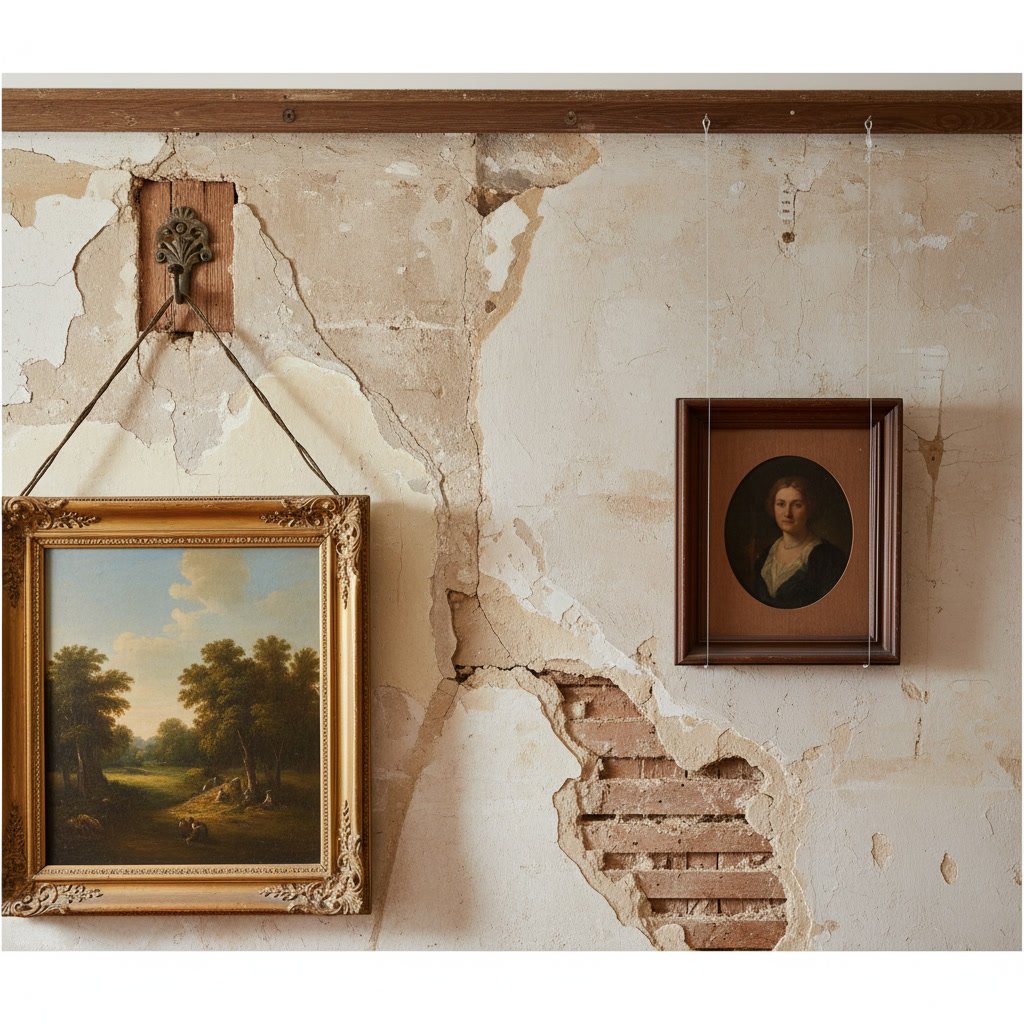
Professional installers often use picture rail systems in plaster-walled rooms, especially for rotating collections. The rail mounts to studs or ceiling joists, eliminating the need for repeated wall penetrations. Cables or rods then suspend artwork at any desired height. This approach particularly suits homeowners who frequently rearrange their displays.
Understanding how different wall types affect hanging techniques helps you make informed decisions about hardware selection and installation methods for your specific situation.
Repairing Plaster After Failed Installations
Small nail holes in plaster seal easily with spackling compound, but larger failures require proper plaster repair. Clean loose material from the damaged area using a putty knife or small brush. Undercut the edges slightly so the patch has a mechanical key to grip.
Apply patching plaster in thin layers rather than attempting to fill deep damage in one pass. Each layer should be no more than one-eighth inch thick. Allow 24 hours drying time between coats. This gradual approach prevents shrinkage cracks that appear when thick patches cure.
For holes larger than a quarter, professionals often install backing material behind the lath before applying plaster. This might be as simple as a wooden shim wedged into the cavity or a piece of metal lath wired to existing lath. The backing provides support that prevents the wet patch from sagging into the wall cavity.
Hairline cracks radiating from hanging points require different treatment. Widen the crack slightly with a can opener or similar tool, creating a shallow V-groove. Vacuum out all dust, then fill with flexible acrylic caulk rather than rigid plaster. The caulk accommodates the minor movement that caused the crack initially, preventing immediate re-cracking.
When Plaster Condition Dictates Different Approaches
Seriously deteriorated plaster changes the entire equation. If large sections sound hollow when tapped, or if the surface moves visibly when you press it, the plaster has separated from its lath backing. Hanging anything on failed plaster risks catastrophic failure that damages both wall and artwork.
Localized soft spots or previous repairs may provide sufficient stability for lightweight items but remain unsuitable for valuable pieces. Test questionable areas by pressing firmly with your palm. Solid plaster feels rock-hard with zero flex. Compromised plaster gives slightly or makes subtle cracking sounds under pressure.
In rooms with significant plaster damage, consider alternative display methods until proper wall restoration occurs. Freestanding easels, leaning mirrors, or furniture-mounted displays avoid the risk entirely. These approaches also work well during renovation planning stages when you know plaster repair is in your future.
Many homeowners combine professional assessment with DIY hanging for optimal results. Having an experienced eye evaluate your walls once provides baseline knowledge you can apply to future projects. This proves especially valuable in homes where plaster condition varies significantly room to room.
Tools That Make Plaster Installation Easier
A quality stud finder rated for plaster makes locating solid backing far more reliable than the tap-and-listen method. Look for models with deep-scan capability and metal-detection modes that identify both wood lath and metal lath. The investment pays for itself in reduced trial-and-error drilling.
Carbide-tipped masonry bits last significantly longer in plaster than standard high-speed steel bits. Purchase bits one size smaller than your anchor diameter for best results. The slightly undersized hole ensures tight fit without requiring excessive installation force that might crack the plaster.
A manual push drill or Yankee-style screwdriver gives you complete control over penetration speed and pressure. While slower than power drills, these hand tools virtually eliminate the risk of plunging through plaster too quickly or applying excessive torque. Many professionals still prefer them for delicate installations in historic homes.
Laser levels remove the guesswork from multi-point installations. The reference line ensures your two anchors sit at exactly the same height, preventing the tilted-frame frustration that often requires additional holes to correct. Battery-powered models under 50 dollars provide accuracy that rivals professional surveying equipment from a generation ago.
Insurance and Liability Considerations
Homeowners insurance policies sometimes include specific exclusions for damage caused by modifications to historic materials. Review your policy before undertaking major installation projects in plaster-walled homes, especially if your home carries historic designation or sits in a conservation district.
Professional installation services carry liability coverage that protects both installer and homeowner if something goes wrong. This coverage matters most when hanging high-value artwork or working near irreplaceable architectural features. The service cost often represents a fraction of potential repair expenses if amateur installation creates significant damage.
Renters in older buildings should always consult their lease agreements before drilling plaster walls. Many landlords prohibit modifications to original plaster and require all hanging to use non-invasive methods. Violating these terms can result in security deposit forfeiture and repair costs that far exceed the value of the artwork you wanted to display.
Documentation provides protection for everyone involved. Photograph walls before and after installation, especially in rental situations or when working with valuable architectural features. These images create clear records of pre-existing conditions and installation quality.
Why Professional Installation Often Makes Sense
The specialized knowledge required for plaster work creates a steep learning curve that many homeowners prefer to avoid. Professionals who work daily with historic materials develop an intuitive feel for how different plaster types respond to various techniques. This experience proves difficult to replicate through research alone.
Proper tools and hardware represent another advantage of professional services. Maintaining a complete inventory of anchors, bits, and specialized equipment for occasional home projects rarely makes economic sense. Professionals arrive with exactly the right hardware for your specific wall condition and artwork weight.
Time efficiency matters when you’re hanging multiple pieces or creating complex gallery arrangements. What might take an inexperienced homeowner an entire weekend, including multiple trips to the hardware store for different anchors, professionals complete in hours. This efficiency reduces the window during which your home sits disrupted.
At Your Service Pros brings 15 years of experience working with historic homes throughout the Chicago area. Their expertise with period architecture means your plaster walls receive treatment that respects their age while providing modern reliability. Whether you need help with a single cherished piece or an entire wall of family photos, understanding your options helps you make the right choice.
Protecting Your Investment and Your Home
Plaster walls represent craftsmanship that modern construction rarely duplicates. Treating them with appropriate care preserves both your home’s character and its value. The techniques that work on drywall simply don’t translate to plaster, and attempting to force-fit modern methods onto historic materials creates damage that diminishes your home.
Taking time to understand proper hardware selection, drilling technique, and weight distribution protects your artwork and your walls. The minor additional effort required pays dividends in installation longevity and peace of mind. Whether you tackle the project yourself or bring in experienced help, knowledge of plaster-specific requirements guides better decisions.
At Your Service Pros serves homeowners throughout the Chicago area who want their pictures hung right the first time. With over 650 five-star reviews and extensive experience in historic homes, the team understands exactly how plaster behaves and which techniques deliver lasting results. Call +16309017707 to discuss your picture hanging needs and schedule an appointment that respects both your artwork and your walls.