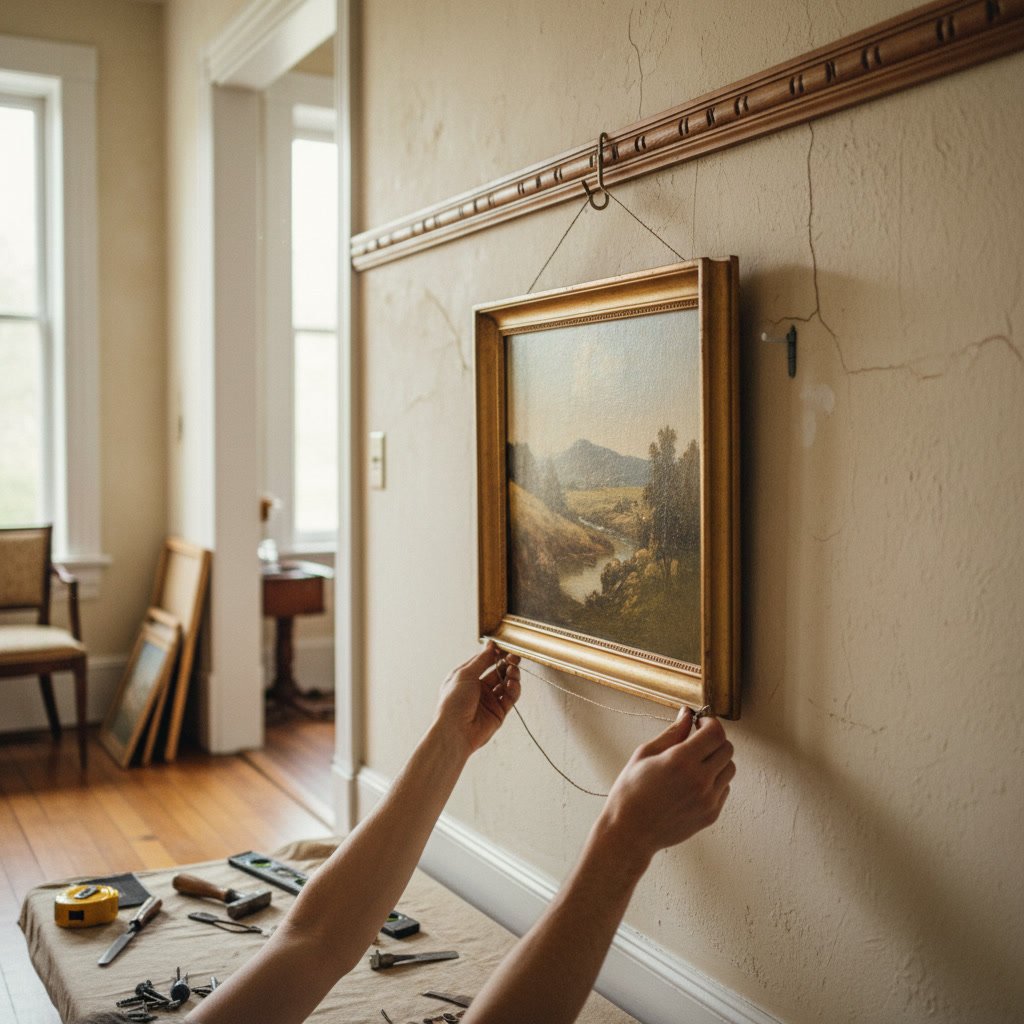
Professional picture hangers perform a detailed wall inspection before making a single hole. This critical step protects your walls from damage, prevents accidental contact with electrical wiring or plumbing, and ensures your artwork stays securely mounted for years. The process involves checking wall composition, locating studs, identifying hidden obstacles, and selecting appropriate hardware for each specific situation. Skipping these checks before drilling walls pictures can lead to cracked drywall, damaged utilities, or artwork crashes.
The difference between a secure installation and a disaster often comes down to the preparation work that happens before the drill ever touches your wall. Most homeowners focus on the final placement of their artwork, but experienced professionals know that the real work happens during the inspection phase.
Why Wall Type Matters More Than You Think
Not all walls are created equal, and treating them as if they are leads to failed installations. Drywall behaves completely differently from plaster, which responds differently from brick or concrete. Each material requires specific drilling techniques, bit types, and hardware.
Drywall typically measures half an inch thick in most modern homes and crumbles easily when the wrong anchor is used. Plaster walls, common in homes built before 1950, are much harder and prone to cracking if drilled too aggressively. Concrete and brick require masonry bits and specialized anchors that create mechanical locks within the material. Identifying your wall type determines every decision that follows.
Wood paneling and tile present their own challenges. Paneling often hides drywall or plaster underneath, so professionals must account for both layers. Tile requires careful drilling to avoid cracks, and the installer must ensure anchors penetrate the substrate behind the tile for proper support.

The Stud Detection Process Professionals Use
Finding studs is not just about waving a cheap detector across the wall. Professional installers use multiple verification methods because studs provide the strongest anchor points for heavy frames and mirrors.
Electronic stud finders detect density changes behind the wall surface, but experienced installers verify these readings by checking for nail patterns in baseboards, examining electrical outlet placements, and physically tapping the wall to hear the difference between hollow drywall and solid framing. Studs in most homes sit 16 or 24 inches apart, measured from center to center.
For heavy pieces over 50 pounds, mounting directly into studs is not optional. It becomes a safety requirement. Our art and mirror hanging service always prioritizes stud mounting for large installations to prevent accidents.
Hidden Obstacles That Stop Installers in Their Tracks
Electrical wiring, plumbing pipes, HVAC ducts, and existing fasteners hide behind seemingly innocent walls. Professional picture hangers in Long Grove know that drilling into any of these creates expensive problems.
Electrical wires typically run vertically from outlets and switches, and horizontally along the top and bottom plates of walls. Plumbing concentrates in walls adjacent to bathrooms and kitchens. HVAC ducts often occupy exterior walls. At Your Service Pros uses non-invasive detection tools to map these hazards before any drilling begins.
One expert-level insight: many homes built in the 1980s and 1990s used metal corner bead and fire blocking between studs. These metal elements will destroy drill bits and create unexpected obstacles. Professionals probe gently with small pilot holes before committing to full-size holes for heavy hardware.
Load Capacity Assessment for Your Specific Wall
Every wall has a weight limit, and exceeding it causes failures. Professionals calculate load capacity based on wall type, anchor type, and whether the mount hits a stud.
Standard drywall with plastic anchors safely holds five to ten pounds per anchor. Toggle bolts increase that capacity to 30 to 50 pounds per anchor. Mounting directly into a wood stud supports 80 to 100 pounds per screw. Plaster walls typically handle slightly more weight than drywall due to their density, but they crack more easily during installation.
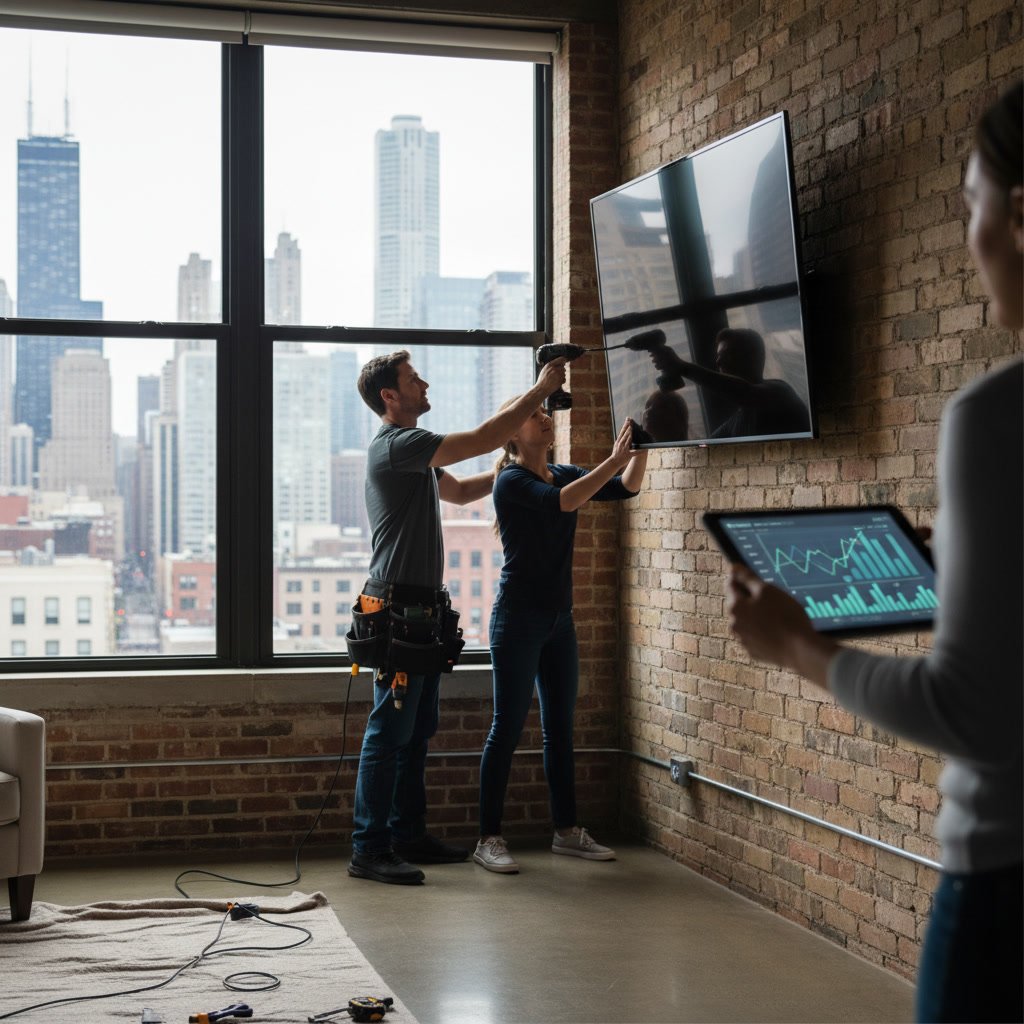
For comparison, the same assessment applies to TV mounting, where weight calculations become even more critical given the size and value of modern displays.

Hardware Selection Based on Wall Conditions
Choosing the right anchor transforms a risky installation into a secure one. Professionals match hardware to wall type, thickness, and load requirements.
Plastic expansion anchors work adequately for lightweight frames on drywall. Threaded drywall anchors, which screw directly into the wall, handle medium-weight pieces up to 25 pounds. Toggle bolts, which expand behind the drywall, provide maximum holding power for hollow walls. Masonry anchors and sleeve anchors serve brick and concrete applications.
Wall thickness affects hardware choice significantly. If you drill into half-inch drywall backed by nothing, even the best anchor has limited capacity. But if that same drywall has insulation and a solid backing board, the installation becomes more stable. Professionals measure depth during the inspection phase to select appropriately sized hardware.
Moisture and Structural Issues That Affect Drilling
Water damage and structural problems compromise wall integrity and make drilling dangerous. Professionals inspect for soft spots, discoloration, and bulging that indicate hidden moisture or deterioration.
Exterior walls in older homes sometimes trap condensation between insulation and drywall, creating soft areas that will not hold anchors reliably. Basement walls often show efflorescence, that white powdery residue that signals moisture movement through masonry. Drilling into compromised areas leads to anchor failure and potential mold problems.
Cracks wider than an eighth of an inch suggest structural movement. Professionals avoid placing heavy loads near these areas and often recommend addressing the underlying issue before hanging valuable artwork. Sometimes what appears to be a simple picture hanging job reveals a problem that requires broader handyman services to resolve properly.
The Five-Step Pre-Drill Checklist
Experienced installers follow a systematic inspection routine that catches problems before they become expensive mistakes. This process takes only a few minutes but prevents hours of repair work.
First, identify the wall material by appearance, touch, and test tapping. Second, use a stud finder to map framing locations and mark them with painter’s tape. Third, check for obstacles using a multi-scanner that detects metal, wood, and live wiring. Fourth, assess the mounting height and verify no switches, outlets, or fixtures sit directly above or below. Fifth, examine wall condition for moisture, damage, or structural concerns.
This checklist applies whether you are hanging a single family photo or planning an entire gallery wall. Speaking of which, avoiding common gallery wall mistakes starts with proper wall preparation.

Tools That Reveal What Eyes Cannot See
Professional-grade detection equipment costs more than basic stud finders but reveals critical information that protects your home. At Your Service Pros invests in these tools because they prevent the kind of damage that ruins client relationships.
Multi-scanners detect wood, metal, and live electrical current simultaneously. They map what is behind the wall up to four inches deep. Thermal imaging cameras reveal temperature differences that indicate studs, pipes, and insulation gaps. Moisture meters measure hidden water content that compromises anchor strength.
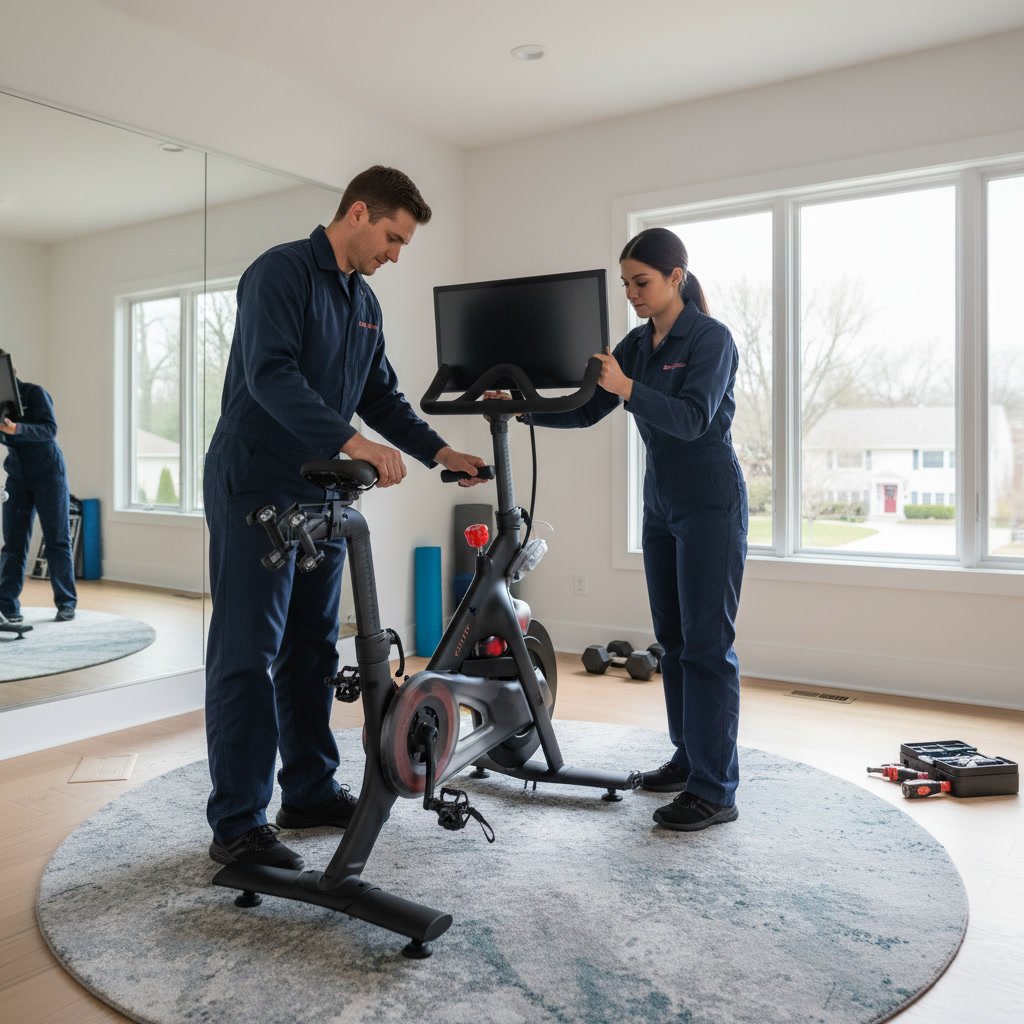
These tools cost between 100 and 400 dollars for quality models, which explains why many homeowners prefer hiring professionals rather than purchasing equipment for a single project. The same applies to larger projects like furniture assembly or fitness equipment installation, where specialized tools make the difference between amateur and professional results.
Pilot Holes and Testing Before Final Installation
Drilling a small test hole before committing to the final size gives professionals an escape route if they encounter unexpected obstacles. This conservative approach saves walls from unnecessary damage.
A pilot hole one-eighth inch in diameter reveals what lies behind the surface. If the bit hits metal, the installer can shift position before creating a larger hole. If the depth measurement shows insufficient backing, alternate hardware can be selected. If the hole reveals crumbling plaster or water-damaged drywall, repairs can happen before the final installation.
This testing phase also confirms the drilling angle. Pictures hung on a slight angle look unprofessional, and correcting the angle after drilling full-size holes often means additional holes and patching work. For guidance on different wall types, see our post on hanging pictures on different wall types.
Documentation and Measurement Recording
Professional installers photograph walls before drilling and record exact measurements for future reference. This practice protects both the homeowner and the installer if questions arise later.
Photos documenting pre-existing damage prevent disputes about who caused what. Measurements recorded on a simple sketch show exactly where studs, wiring, and pipes run, which helps future contractors avoid problems during renovations. Height and spacing measurements ensure consistency across multiple pieces.
For permanent installations like shelving or TV mounts, this documentation becomes part of the home’s maintenance records. Future owners benefit from knowing exactly what is behind their walls before starting new projects.
Protecting Your Home and Your Investment
The inspection process before drilling serves one ultimate purpose: protecting your property value and preventing injuries. A single drilled wire can cost thousands in electrical repairs. A punctured pipe can cause water damage that spreads through multiple rooms. A failed anchor can destroy irreplaceable artwork.
Professional picture hangers carry liability insurance precisely because they understand these risks. They invest time in thorough inspections because prevention costs far less than repair. The few extra minutes spent checking wall conditions and hidden obstacles pay dividends in successful installations that last for years without problems.
Homeowners who attempt DIY installations often underestimate these risks until something goes wrong. At that point, the cost of hiring a professional from the start would have been a bargain. The same careful approach applies to all installation work, from small handyman jobs to major projects.
At Your Service Pros brings 15 years of experience and over 650 five-star reviews to every installation. We complete the critical inspection work that protects your walls, your utilities, and your valuable artwork. Our systematic approach catches problems before they start and ensures every piece hangs securely exactly where you want it.
When you are ready for a professional installation that prioritizes both safety and aesthetics, contact our team at +16309017707. We serve communities throughout Chicagoland with the same attention to detail and commitment to quality that has earned us our reputation as the trusted choice for picture hanging and home installation services.